If you’re new here, I love to read. I’ve always been a reader and probably always will be, in addition to an audiobook listener as well.
It’s always been a dream of mine to have built-in bookshelves with a sliding later. When I moved into my current home, I found the perfect spot for them and had them built for less than $4,000.
Then, one day I was scrolling through Instagram and someone sent me an image of a wall that took my breath away. It was an image posted by Erin Stem from @CottonStem. I immediately started following her, her blog, and looking for a spot in my house to create my own book wall art.
View this post on Instagram
If you’ve been a longtime follower, or since COVID-19, you know I work from home. With an infant and two elementary school kids in virtual school, finding quiet office space turned into a mission. Many days, I was in my closet recording podcast episodes.
You can see me and my family get an entire work from home and learn from a home makeover by Staples in this episode of Designing Spaces. As you can see, I have a workspace in my bedroom.
I was turning my chair and using a tray table to place my laptop for video calls because I had a great-looking wall being me that way. So I thought, why not create a cool, DIY book wall decor thing happening behind me so I no longer need to turn my chair and bring out a tray table?!
DIY Book Wall Art Decor
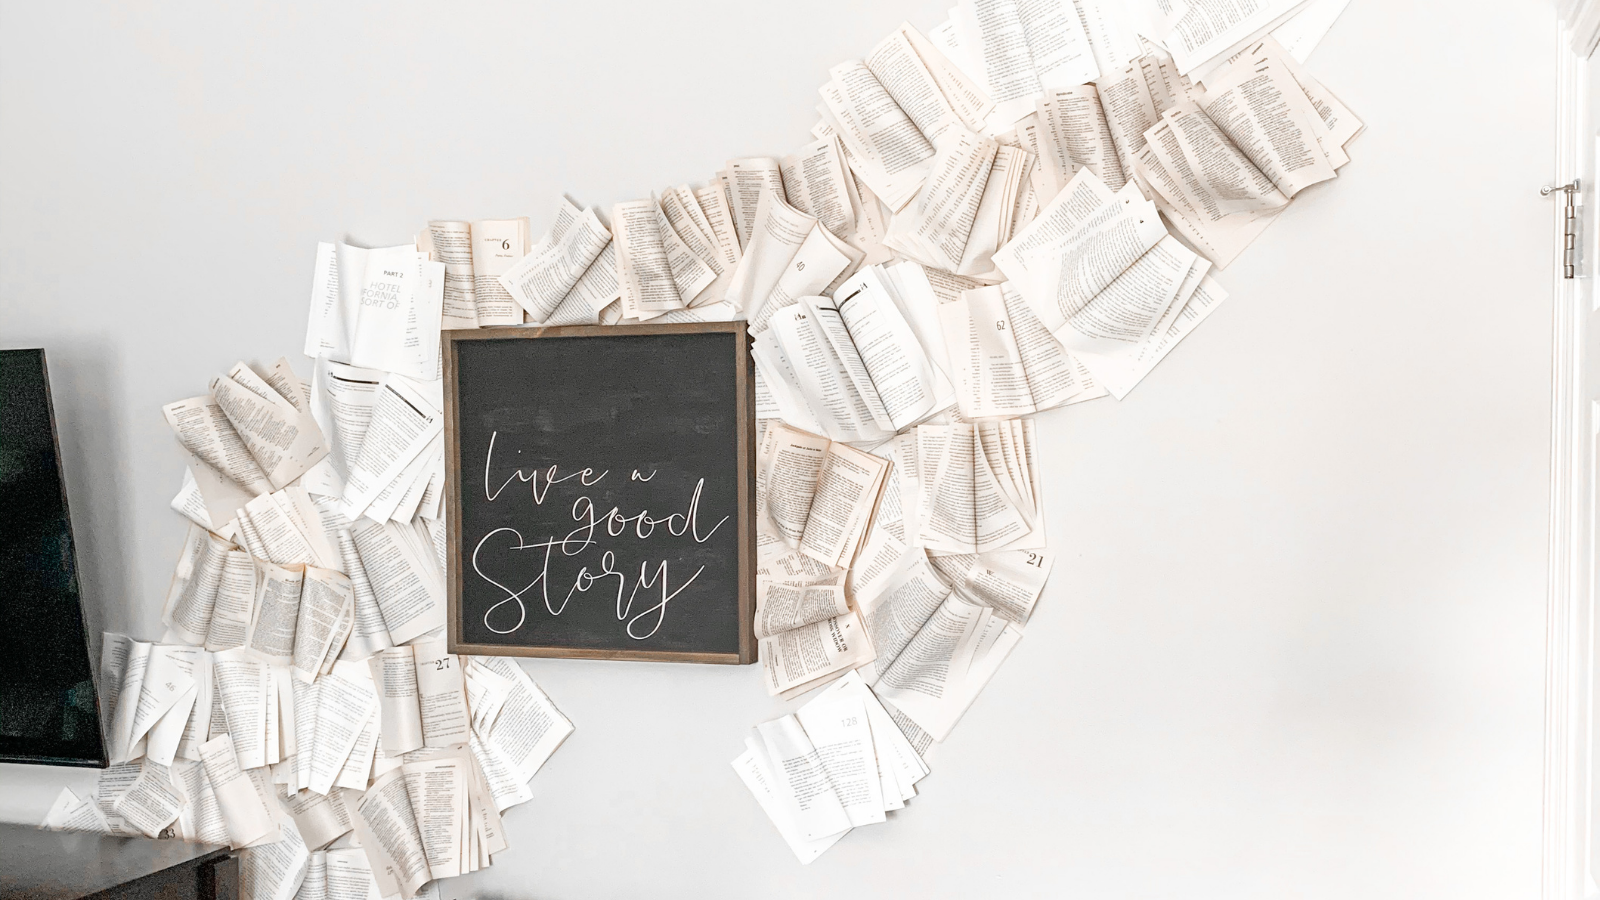
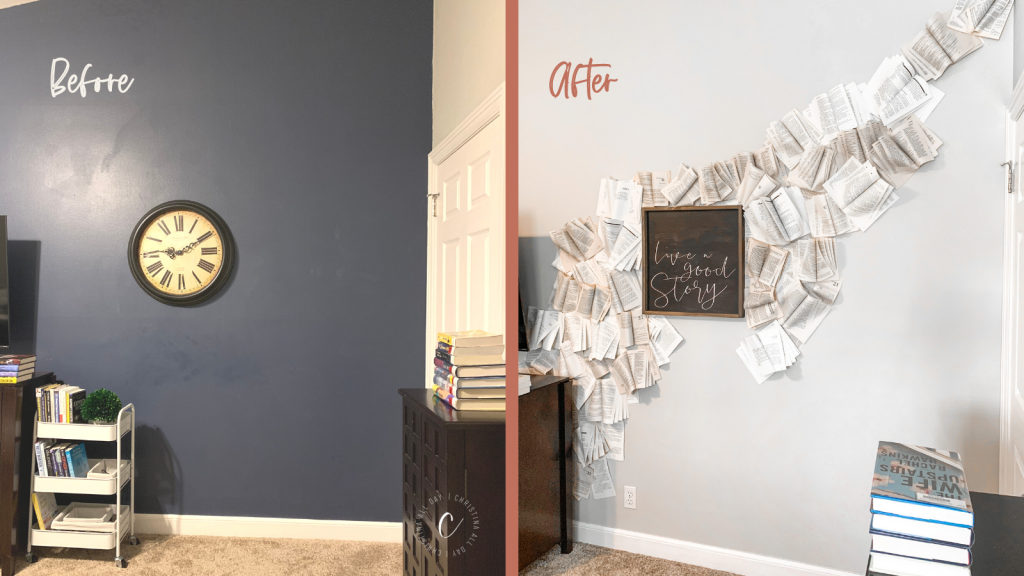
I’m going to walk you through how my mom and I created this stunning DIY book wall art for less than $40 and in less than two hours. If you want to see the 30-second version on Instagram, click here.
View this post on Instagram
1. Find One Wall Art Centerpiece
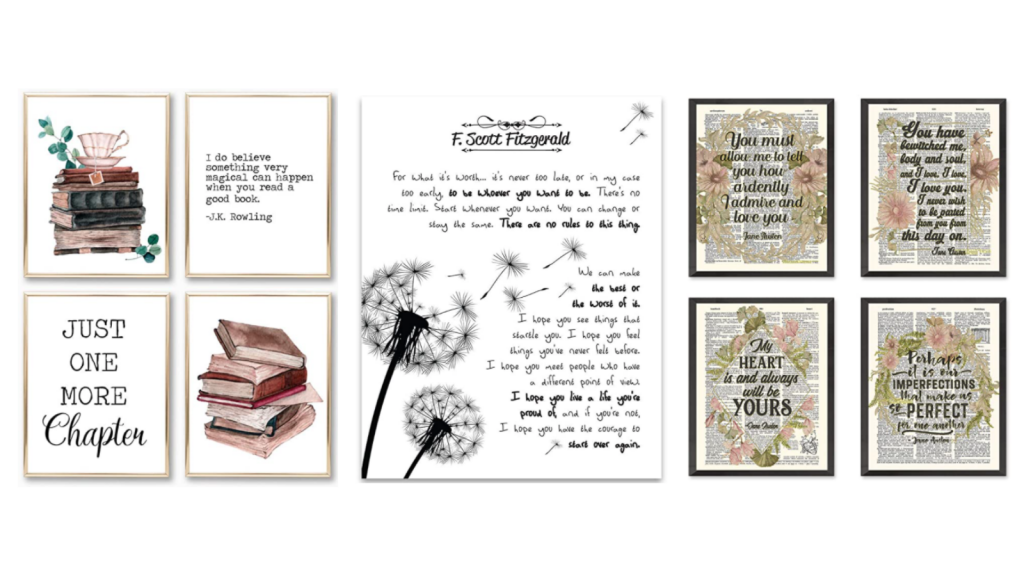
The first thing I did was find a piece of art to center the area at Hobby Lobby for about $20. Because the art was dark with a wood frame, it was time to paint the entire wall a light color. That’s where my mom, who is not a professional painter but acts like one, painted the entire wall in no time.
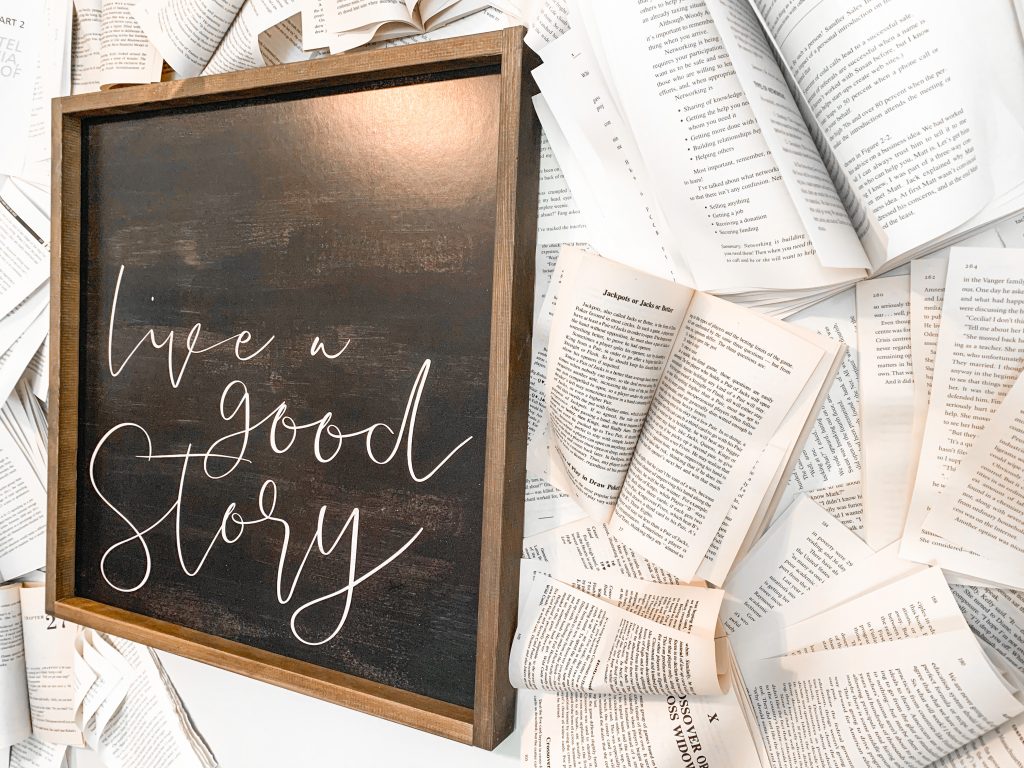
Here are some pieces of book wall art on Amazon you might like. These are affiliate links.
1. Four 8.5×11 Unframed Reading Wall Art Prints
Click here to buy the set for $22.
2. 11×14 Unframed F. Scott Fitzgerald Wall Art Prints
Click here to buy it for $12.
3. Four 8×10 Unframed Jane Austen Quote Wall Art Prints
Click here to buy the set for $25.
2. Buy Old Paperback Books
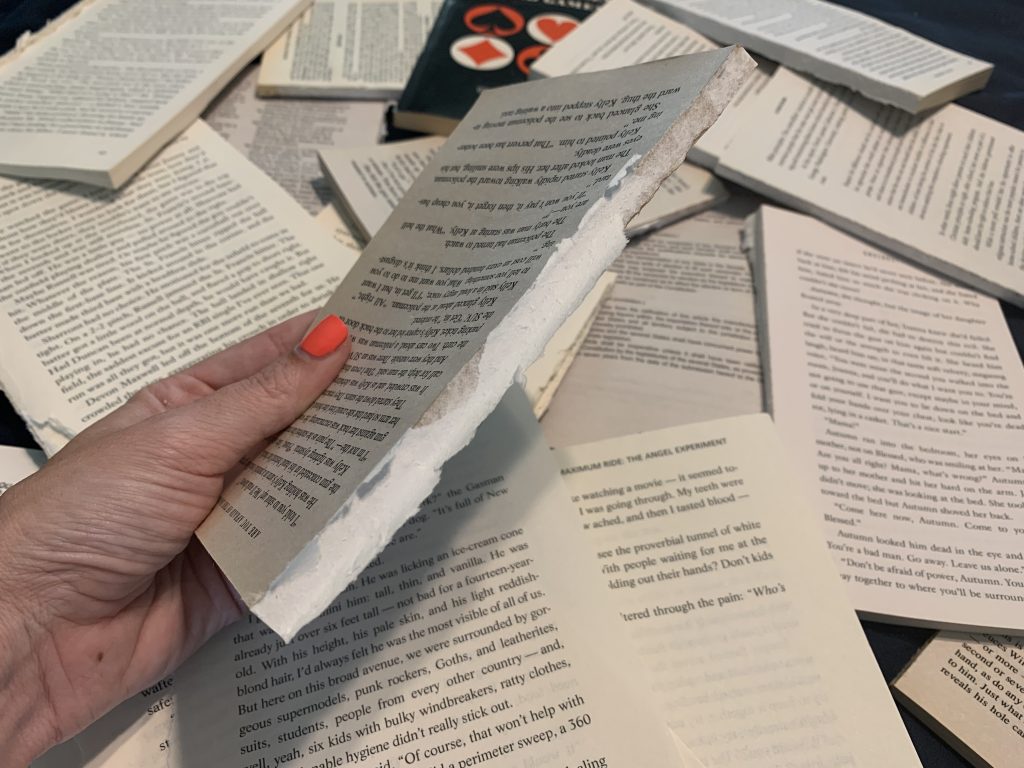
Second, I went to my local thrift store and bought all the paperback books I could find. I spent about $20 on 15 (or so) books. It doesn’t matter what they’re about or if they’re even of interest to you, but I was excited to see that I grabbed one I’ve read before and one written by my favorite author, James Patterson.
You can use old books, a good book, old book pages, or your favorite books as well, depending on how you want to use the art wall. I do suggest books being in different sizes and in a variety of colors to make the wall pop more.
3. Center the Main Art
Then, I hung the art print – which in this case was a framed saying that read, “Live a good story” in a pretty messy script font. I centered this between the spot between my bedroom dresser and the open door. Anything with a book quote or reading quotes is good!
4. Rip Your Books Apart
Rip your books apart. That’s it! You literally just rip the books into halves or quarters depending on the size they need to be to hammer a nail into them and through the wall.
5. Nail the Books to the Wall and Tape the Pages Open
Now, it’s the fun part… but the most time-consuming. After you decide how you want the books to look, you’re going to split it in half, but leave a few pages loose in the middle, and nail it to the wall. For me, I wanted to do the angled, flowy look like Erin from Cotton Stem did.
As I was nailing the books, I was also taping those middle pages down. This gives you the effect of it being a tad messy as well as makes the book wall art three-dimensional. Even pages that were taped down were taped in a few different ways – some clean, some messy, some with two pages, some with more, etc.
I thought I would need a Command strip or two for this, but regular Scotch tape or double-sided tape works perfectly.

Then, you just keep on going with this process. If you have books left over when you think you’re done, don’t quit! This is when you can nail books on top of other books. Overlapping the books is what makes my wall look best.
My mom and I also ripped individual loose pages out of books to stick in between some places that had just a bit of wall showing. It’s a great way to make it look full. For this, tape was rarely needed because there were so many nooks and crannies that helped keep the pages secure.
If you ever took this off your wall, hello wild and crazy nail holes!
Maintaining the Book Wall
When I posted this video to TikTok, many people commented about cleaning it. I’m not going to lie, I never thought of that. My mom told me to take a blow dryer to it every once in a while to remove the dust. Sounds easy enough, right?
And that’s it! That’s how I created DIY book wall decor in just a couple of hours for less than $50.
If you have some cool art that has to do with your love of reading, please let me know on Instagram at @ChristinaAllDay. For example, what are you doing with your book collections? Do you have a great idea for a book lover gift? I’m always up for DIY projects, especially if they’re a fun way to show my book lover side on a flat surface of wall space! To read some of my book reviews, click here.
