


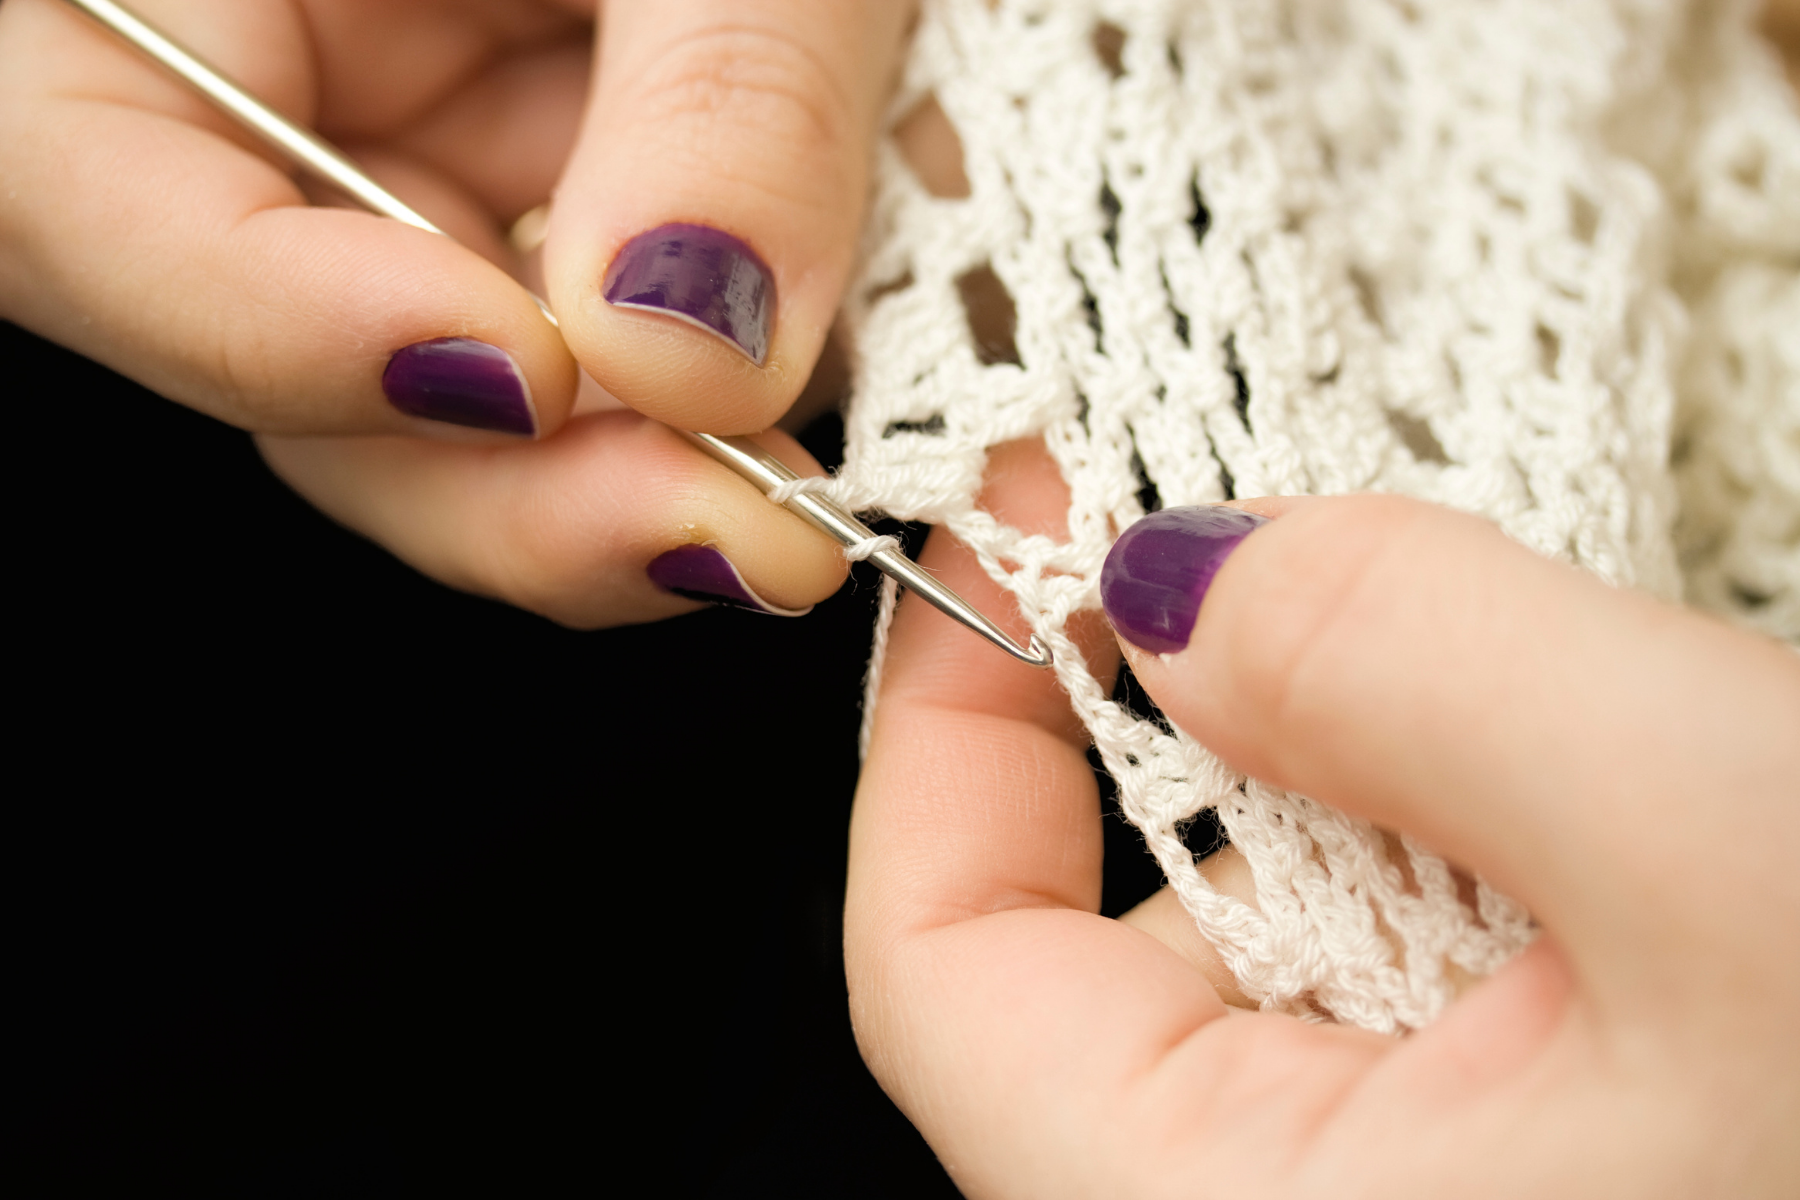
Knitting and crocheting have grown in popularity since learning how to do both are so easy with online courses and YouTube videos. You might even see people on TikTok and Instagram sharing their handmade creations every day.
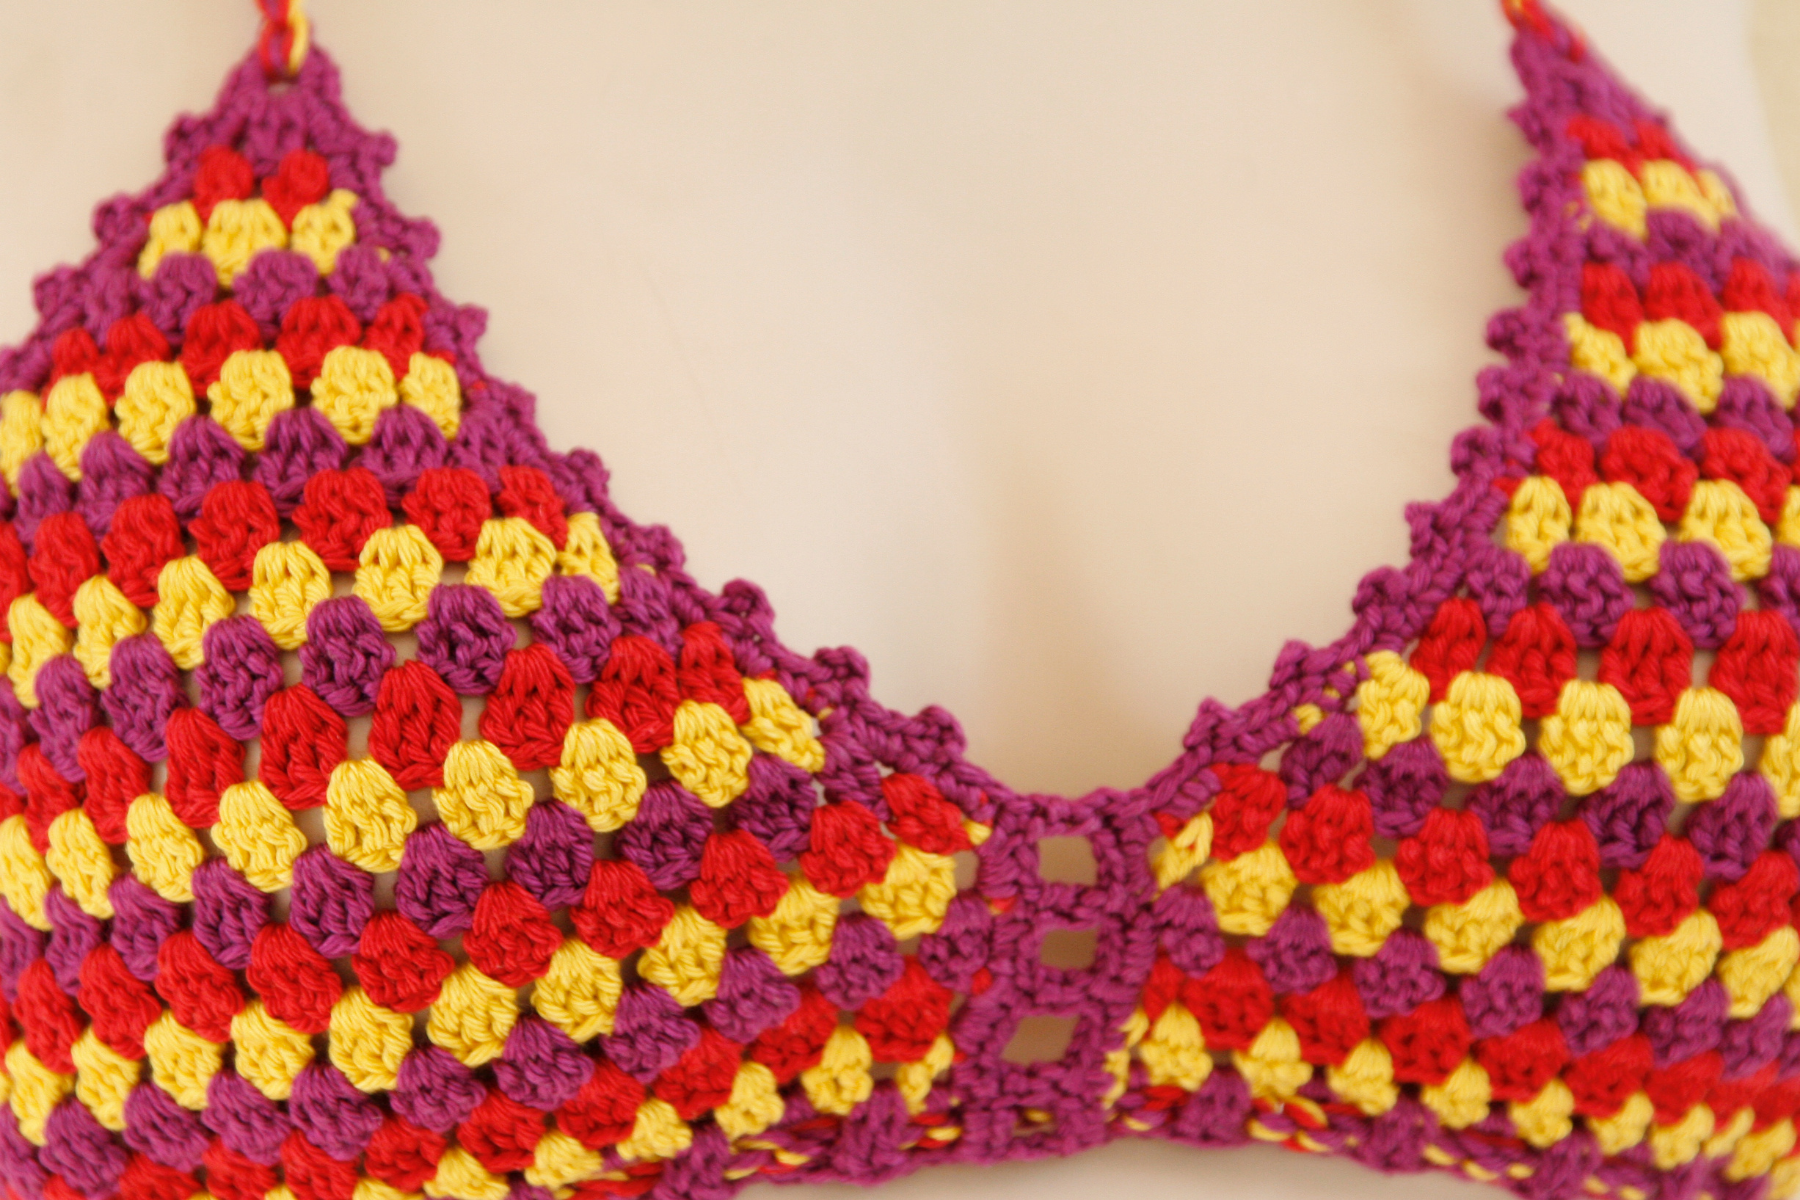
Something else that is trending is crochet clothes, specifically bralettes. For a lace crochet bralette pattern and other free patterns, click here.
If you want a video tutorial for this bralette top, click here.
You can follow along by reading these instructions and are an intermediate crocheter. Then I will share some styling tips.
At the end, I will share another crochet bralette tutorial designed for more advanced crocheters, so if you’re not new to this, scroll down to the bottom.
How to Crochet a Bralette for Beginners
If you already know how to do the basic crochet stitches, then the process to crochet a bralette won’t take more than a few hours.
Supplies for Crocheting a Bralette
Crocheting a bralette does not require any fancy supplies. You can make one using only three products.
- 5mm hook. Click here to check out the 5mm crochet hook on Amazon.
- Category 4 cotton yarn. Click here to check out category 4 yarn on Amazon.
- Marker. You can use anything from a safety pin to a different color yarn to mark your work.
How to Crochet a Bralette for Beginners
This first method to crochet a bralette is beginner-friendly and only uses basic stitches, like single and double crochet.
Step 1: Crochet the Underbust Belt
The first step to crochet a bralette is to make the underbust belt. Follow these steps to crochet the bottom of the bralette.
- First, measure the bottom of your breast area and write down the measurement. This is how long you would need to crochet the underbust belt.
- Then, grab your 5mm hook and category 4 yarn and make a slip knot.
- Create a chain space that is long enough to fit around your underbust using the measurements you took in the first step.
- Once you have created the chain, it is time to connect it to the other end. But before you do that, ensure the chain is not twisted.
- Now, insert the hook in the first loop you made, and then yarn over and pull through both loops to make a slip knot.
- Now, chain up one and then single crochet all the way around to the end of the row. Once you are done, chain up one and crochet the next row, etc.
- Repeat this process until you are satisfied with the size of the underbust belt. In my personal opinion, at least two inches at the bottom of the cups work great.
- When the underbust belt is ready, chain it up one last time and cut the working yarn.
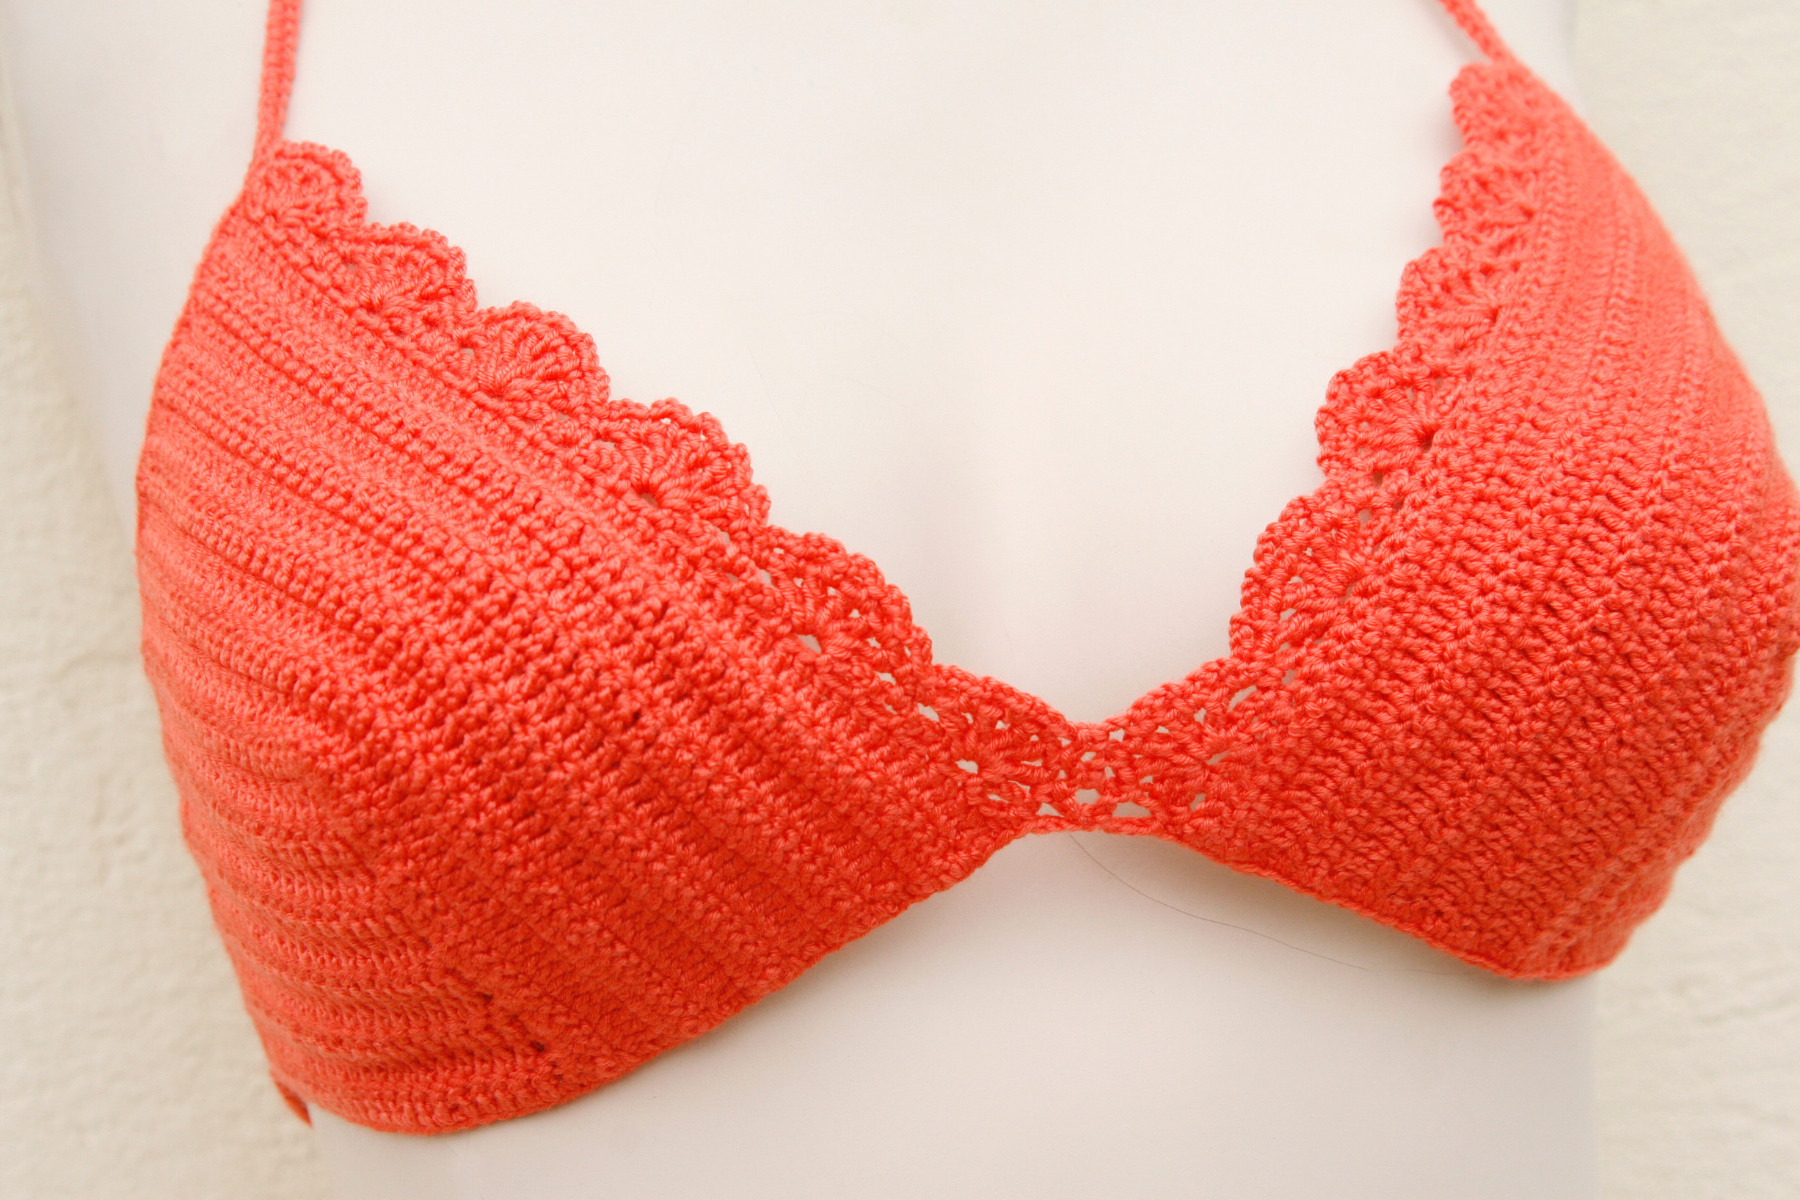
Step 2: Crochet the Cups
Crocheting the cups of the bralette might seem a daunting task but the basic stitches are the same. So, if you have made the underbust belt already, let’s start with crocheting the bralette cups.
- Lay the underbust belt on a flat surface and put a mark in the middle and each side. Make sure that both sides have the same amount of loops otherwise both cups will be different cup sizes – a cups, b cups, c cups… they all work with this look!
- Now insert the 5mm loop where the first marker is, chain up once, and single crochet to where the middle marker is.
- After you have made the first row of the crochet bra cup it is time to flip the piece and decrease. To decrease, you will need to yarn over-pull through the first loop and then do the same for two more loops. In short, yarn over three loops on the hook at the same time to decrease.
- Now, single crochet the normal way, and then when you are at the end do the same decrease method mentioned above.
- Keep doing the single crochet and the decrease until you get a triangle cup.
- When one cup size is ready, do not cut the working yarn. Instead, use it to create the second bralette cup.
Step 3: Crochet the Back Straps
Once you have crocheted both of the cups, it is time to create the back straps.
- First, you need to use measuring tape to determine how long you want the backstraps to be. Be sure on these measurements because adjusting crochet backstraps is not an option, so decide if you want criss-cross straps now!
- Once you have your measurements, single crochet a strip as long as you want using the working yarn you’ve already used.
- After both of the strips are done, lay the bralette flat and add markers on the underbust belt for where you want to attach the back straps.
- Connect the strip using a slip-through knot, then slip through the next loop on the underbust belt. From here you are going to do single crocheting in every loop of the strip until you have reached the peak of the cup.
- Repeat the process for the other strip.

Step 4: Crochet the Bottom Border of the Bralette
We are almost there! The last step of crocheting a bralette is to add a bottom border. Some make this longer so it looks like a crop top and covers their rib cage.
- It does not matter where you start crocheting your bottom border, but I recommend doing it on the back.
- Insert your 5mm hook in a loop and then make a single crochet chain. The chain should be as long as you want the border to be.
- After crocheting the chain block off the last loop, chain up to three loops by double crocheting.
- Now, double-crochet till you get to the base of the chain.
- Slip stitch the chain to the base of the underbust belt. See from which loop you started crocheting the strip, then skip two loops and connect the strip to the third loop.
- Now, go into the next three loops on the base of the underbust belt using a slip stitch.
- Flip over your work and do double crochet on the back loops of the border.
- Repeat this until you have finished crocheting the border – the amount of stitcher will vary depending on the look you’re going for and your size.
- Now, turn the bralette inside out, and connect both ends of the border using a single crochet to end it with a perfect fit.
Congratulations! You’re done. Let me know in the comment section how this turned out.
How to Style a Crochet Bralette
Now that you have this new, amazing fashion, let’s see how you can style it best. Let me know what your favorite style is on Instagram at @ChristinaAllDay.
Crochet Bralette with Jeans & a Button-Down Shirt
The easiest way to style a crochet bralette is by wearing it with jeans. You can either wear skinny jeans or high-waisted jeans – whatever fits your style best. Next, throw a neutral button-down shirt on top, but make sure the colors of the two articles don’t collide. With this look, the bralette acts as a tank top.
If you’re heading to any music festivals in the summer season, this comfy summer crochet project goes perfectly with a pair of shorts.
Crochet Bralette with Mini Skirt
Couple a crochet bralette with a mini skirt for a staple summer outfit on hot days. The only thing to keep in mind when pairing your crochet bralette with a mini skirt is that the skirt should be plain since you want the focus to be on the bralette.
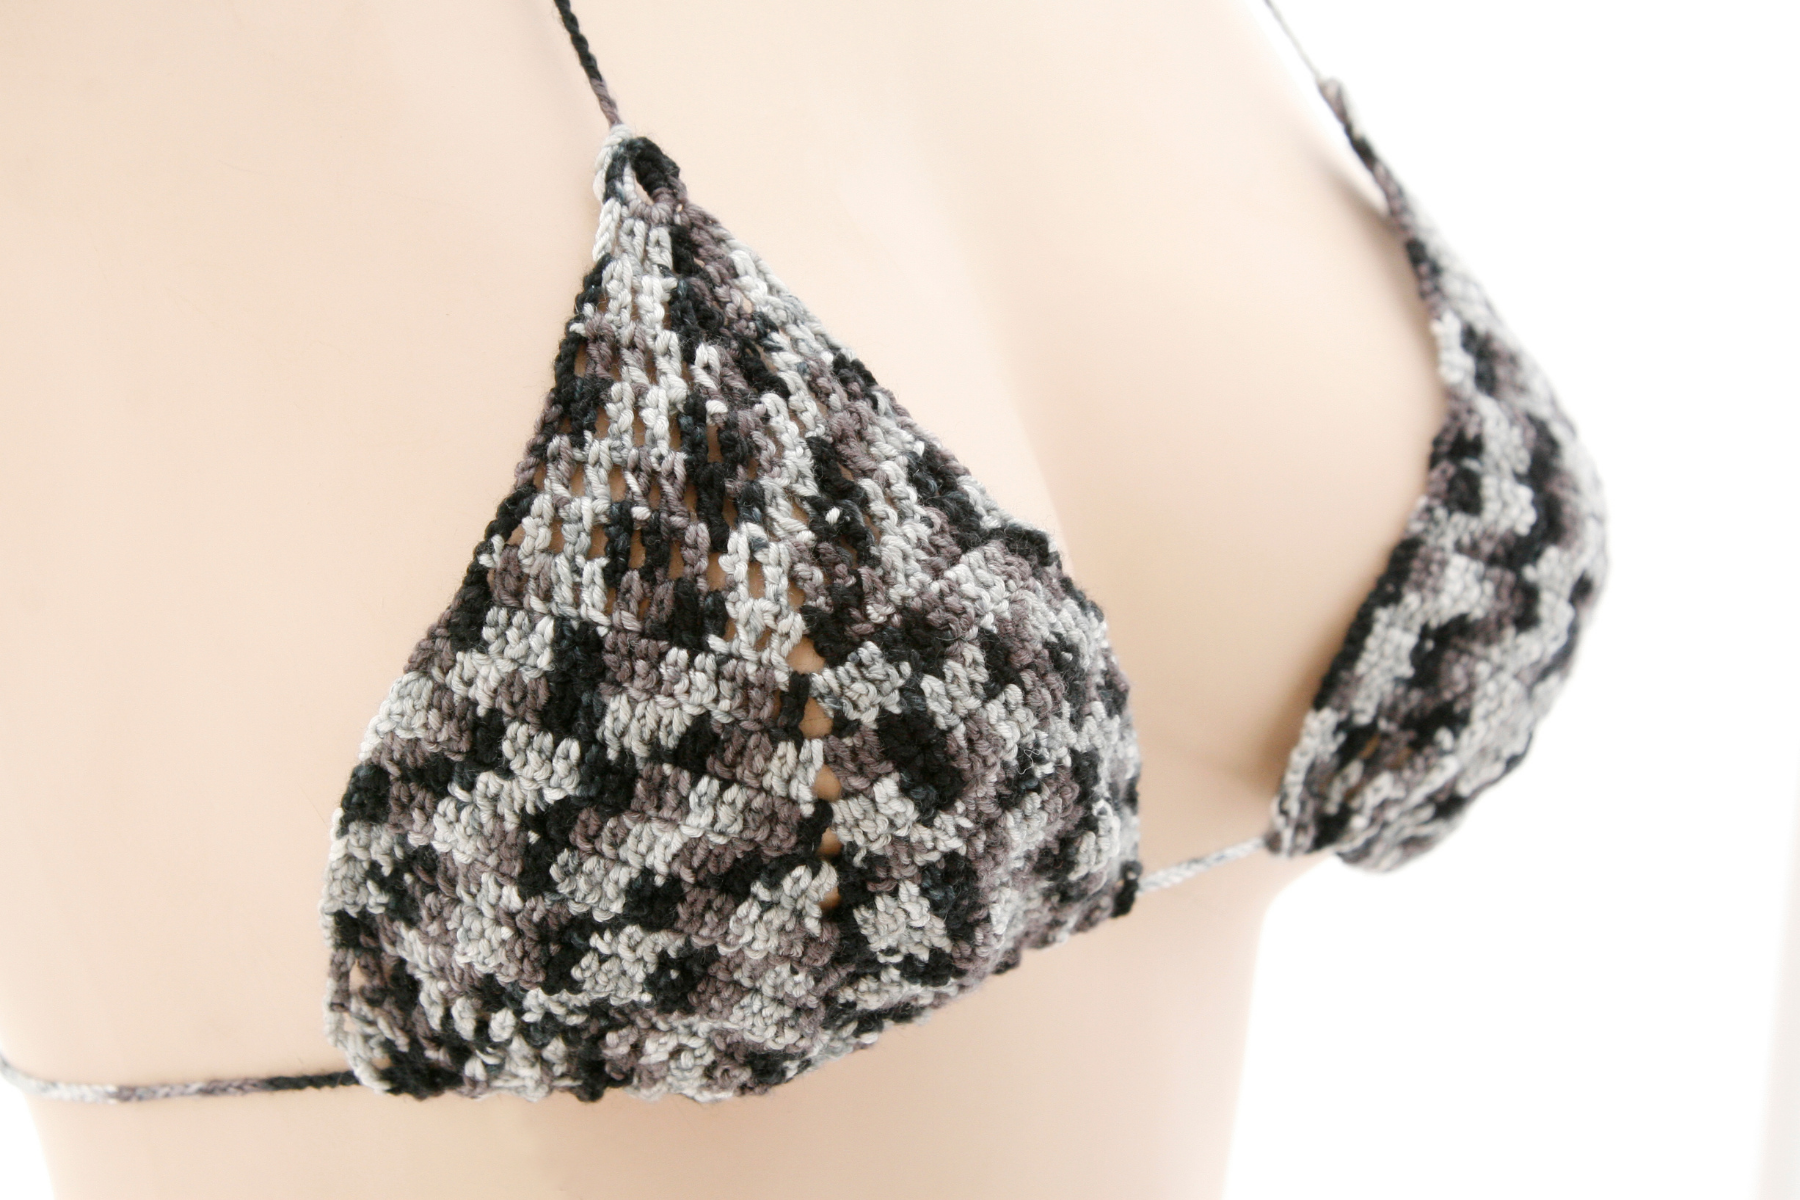
Crochet Bralette with Crochet Bottom
Though it might look tacky to some because it is a bit much, the crochet top and bottom combo could work. Just make sure you tone down the accessories to balance out the look because this isn’t a basic bralette.
Crocheting is a rewarding hobby. It does not only help you pass time but you can end up with a product that you can use. Don’t forget to share the end result of your beautiful crochet lace bralette with me on Instagram at @ChristinaAllDay.
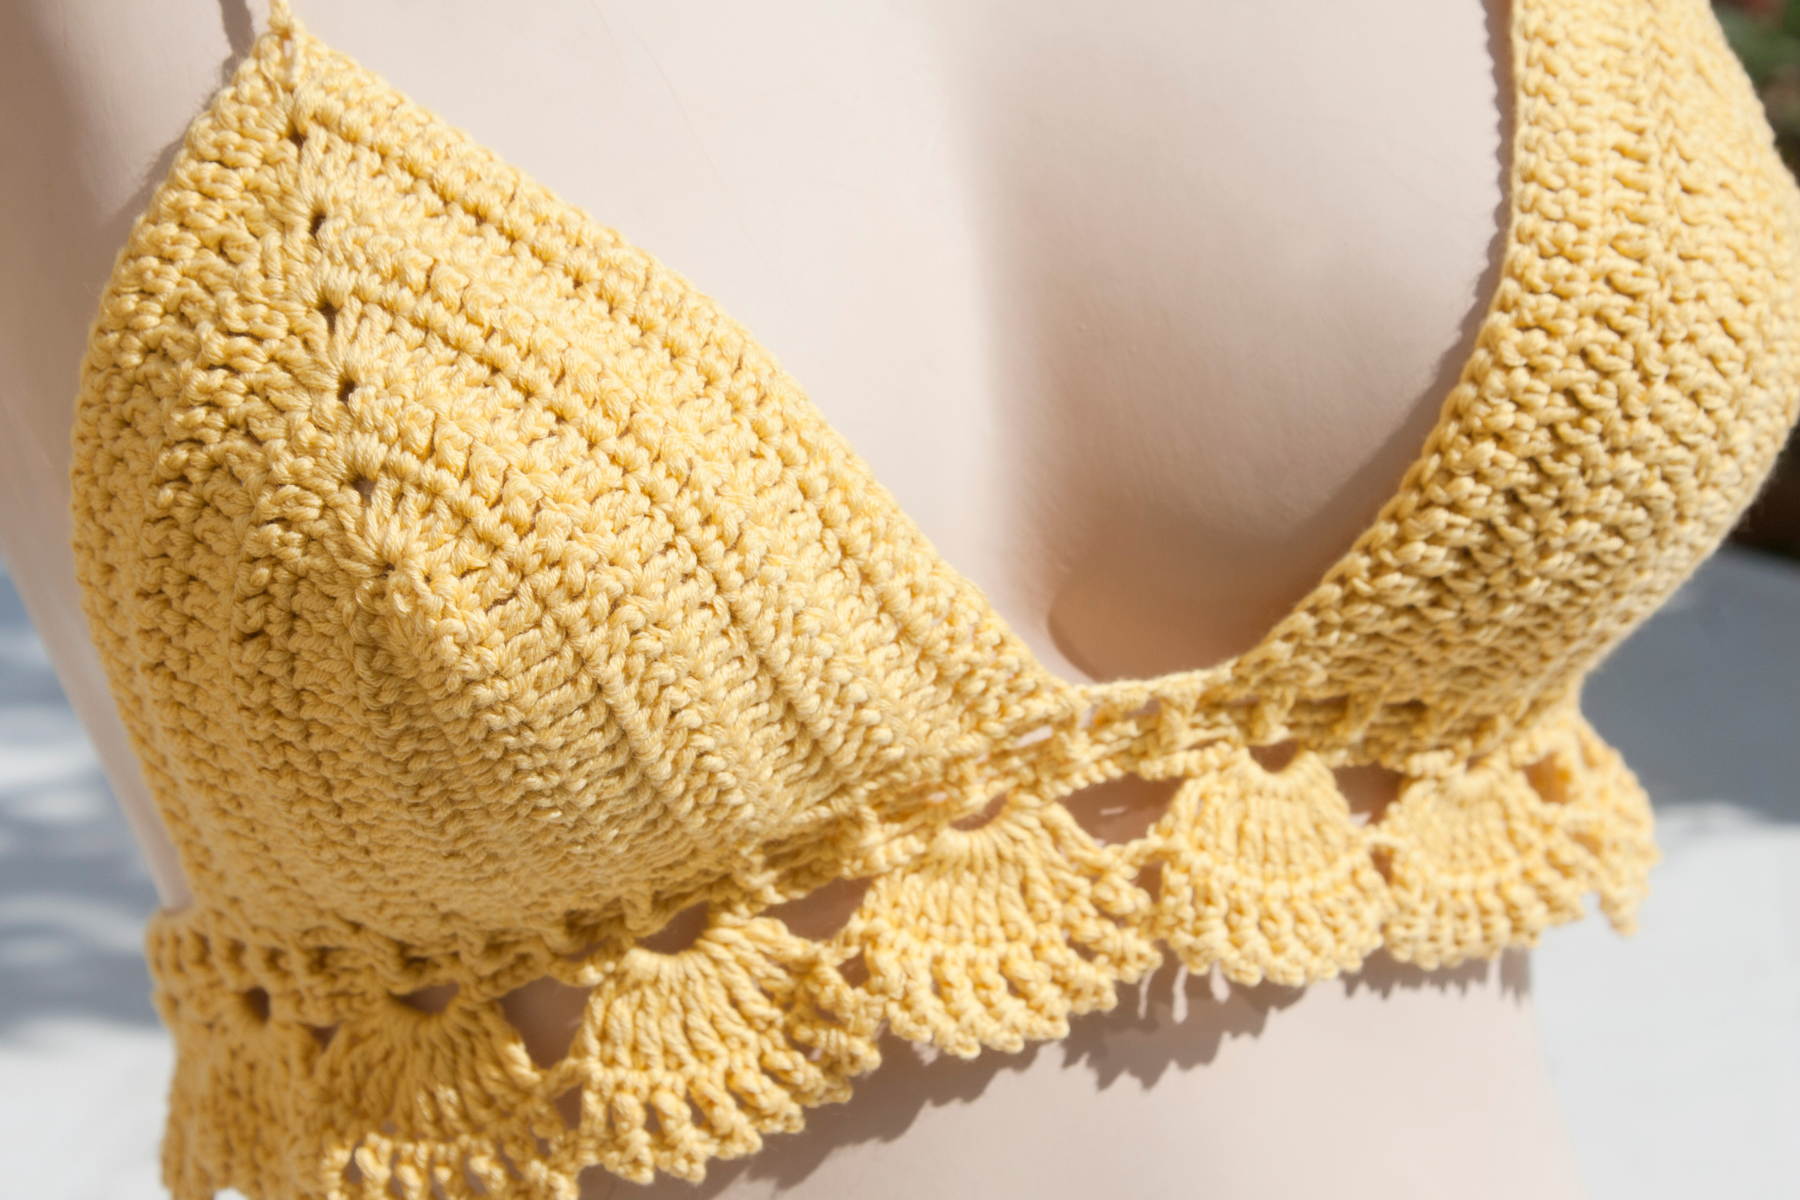
How to Crochet a Bralette
In this tutorial, I’ll guide you step-by-step on how to crochet a bralette so you can create a stylish and comfortable undergarment that’s personalized to your taste if you’re not new to crocheting.
These instructions are not step-by-step and are written more generally if you’ve done work like this before.
Materials Needed:
- Crochet hook (appropriate size for your yarn)
- Fine yarn suitable for a bralette (cotton or a blend is recommended)
- Scissors
- Stitch markers (optional)
- Tape measure
- Bra hooks and sliders (for adjustable straps)
Step 1: Measuring and Planning
Before you start crocheting, it’s important to take accurate measurements to ensure a proper fit. Measure your underbust, cup size, and desired length of the bralette. Based on these measurements, plan your pattern, including the cup shapes and overall design.
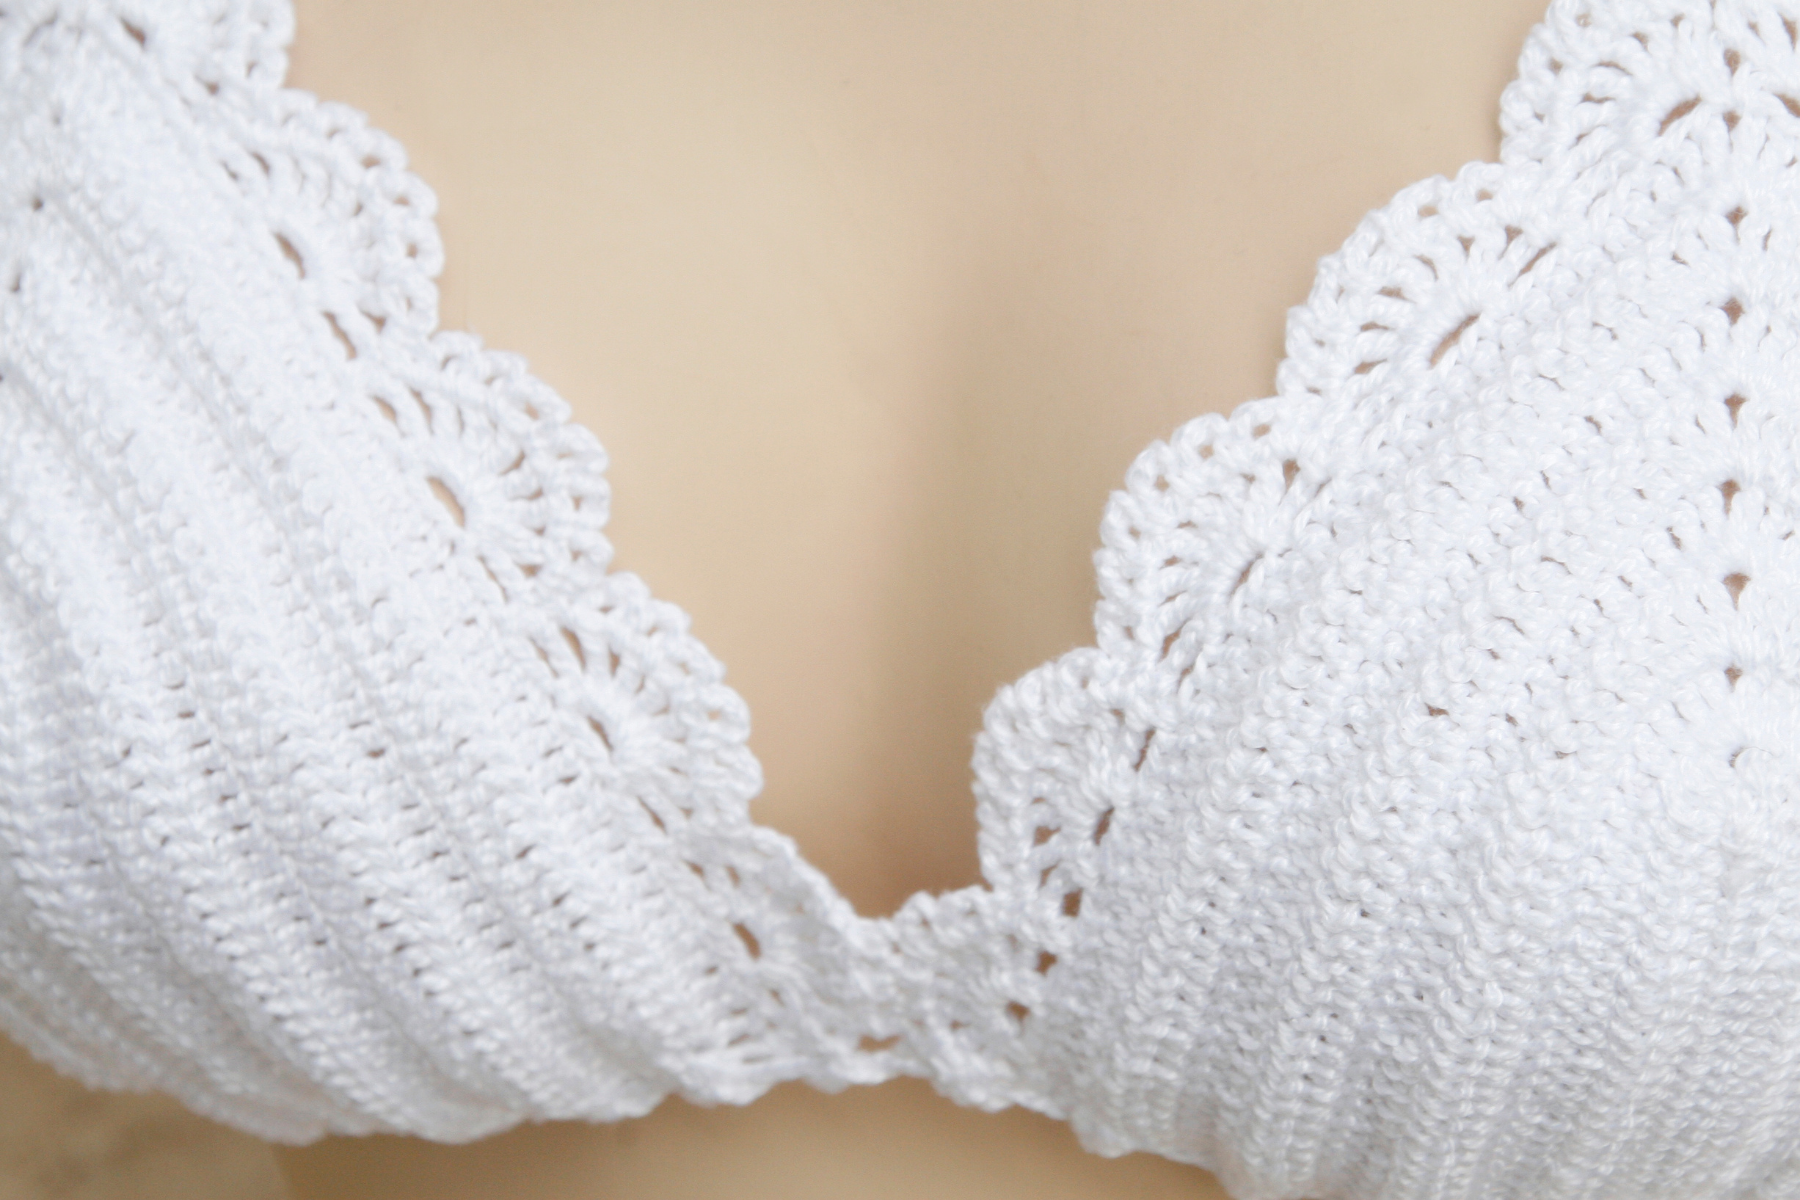
Step 2: Creating the Cups
Start by crocheting the cups individually. You can use a combination of chain stitches, single crochets, double crochets, and decorative stitches to create intricate lace patterns. Follow a cup pattern or experiment with your own designs. Adjust the number of stitches and rows based on your measurements to achieve the desired cup size. Repeat the process for the second cup.
Step 3: Joining the Cups
Once the cups are complete, it’s time to join them together. Hold the cups against your body to determine the correct placement. Crochet a strip of stitches across the top edge of each cup, making sure to maintain the desired distance between them. This strip will act as the connecting band.
Step 4: Creating the Band
To create the band, measure your underbust and crochet a foundation chain based on that measurement. Work rows of stitches back and forth, ensuring the width matches the desired thickness of the band. Use a stitch marker to mark the center point of the band, which will align with the center of your chest.
Step 5: Adding Adjustable
Straps To provide additional support and adjustability, crochet straps will connect the cups to the band. Start by measuring the desired strap length, keeping in mind that it should comfortably rest on your shoulders. Crochet the straps accordingly and attach them to the cups and band using slip stitches or other joining techniques. For adjustable straps, attach bra hooks and sliders to the ends of the straps.
Step 6: Finishing Touches
Once all the pieces are joined together, try on the bralette to ensure a proper fit. Make any necessary adjustments by adding or removing stitches as needed. Weave in any loose ends and trim excess yarn.
Happy crocheting!
For another fun DIY outfit I created with my daughter, a tulle tutu, click here.


