


If you have a little girl, chances are you need a home for the bows… or a cheer bow holder.
I also made a video tutorial of how I put mine together with my daughter. Click here to watch it.
How to Make a DIY Cheer Bow Holder
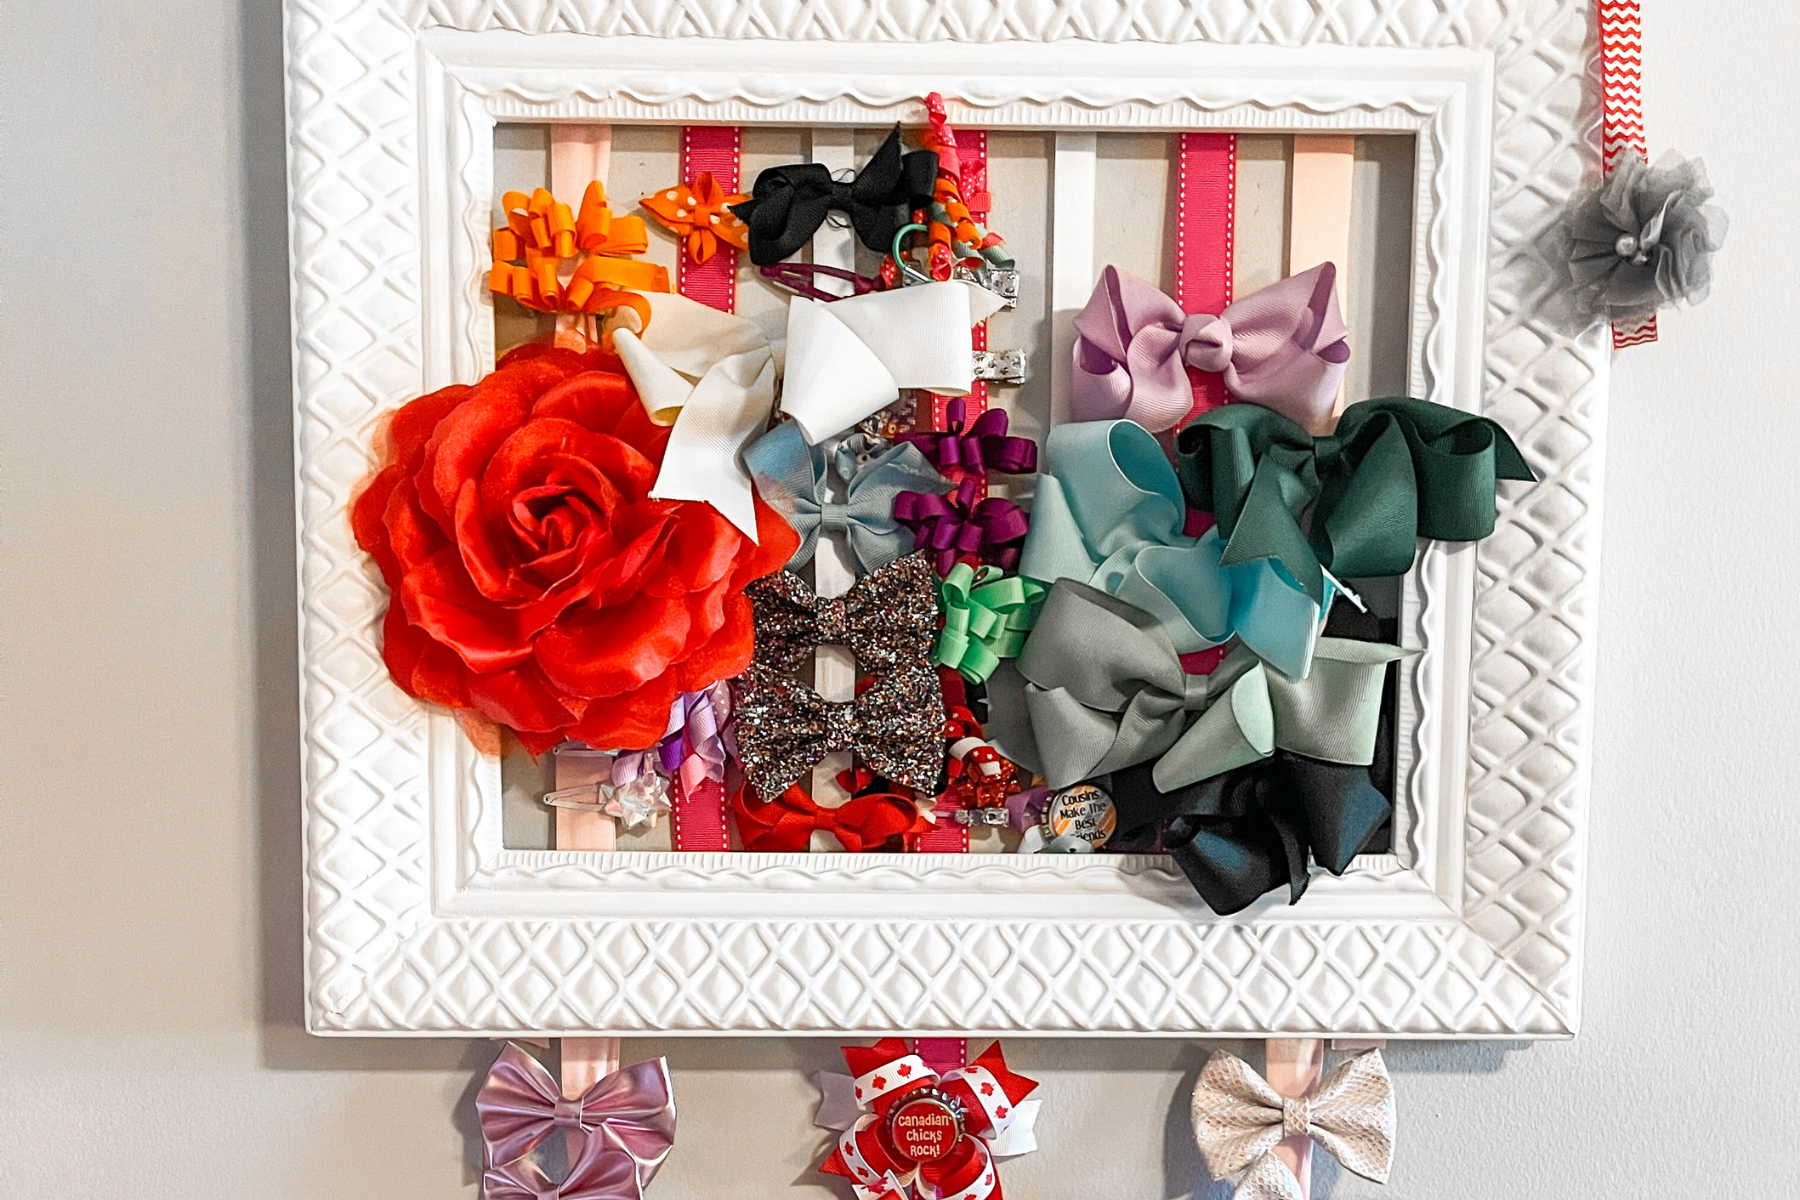
Take a look at the bow holder I made, really inexpensively, with just a few things in three easy steps.
1. Buy the Frame & Ribbons
The first step is buying a frame and ribbons.
You can get a frame and ribbon anywhere, but just make sure there is no glass in the frame or be prepared to remove it. The glass is not needed for this. Some people even use a Christmas decoration from a local craft store or fabric store, like JoAnn Fabrics or Michaels Stores, and tweak it. Hobby Lobby also has tons of options and is where I got the one in this example.
While you’re there, pick up some spray paint if you’d like the frame in another color to better match a bedroom or the ribbons you’ve selected.
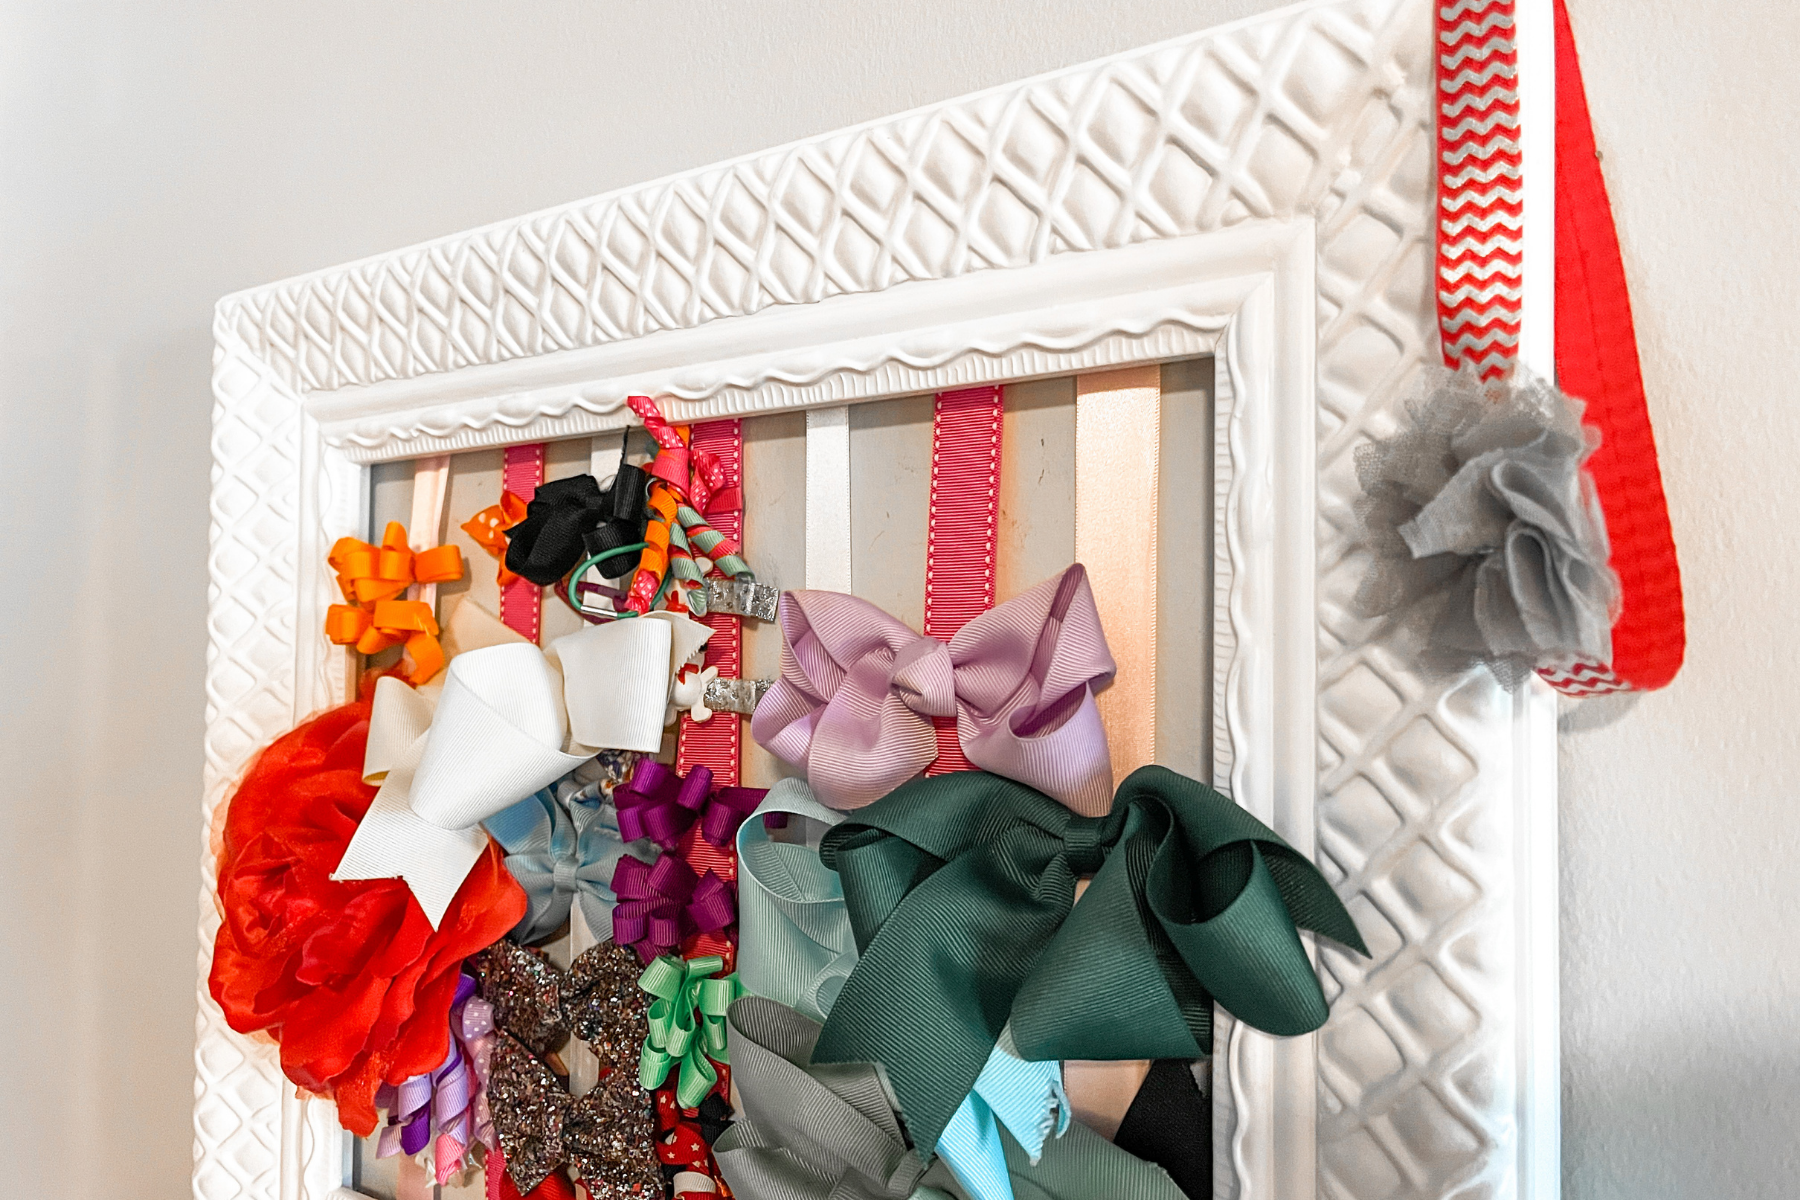
For ribbon, keep in mind room colors, school colors if these are cheer bows (which many are), etc. I like mixing thin ribbon with larger ribbon for small bows and large bows… and a better, more artsy look.
2. Glue the Ribbon
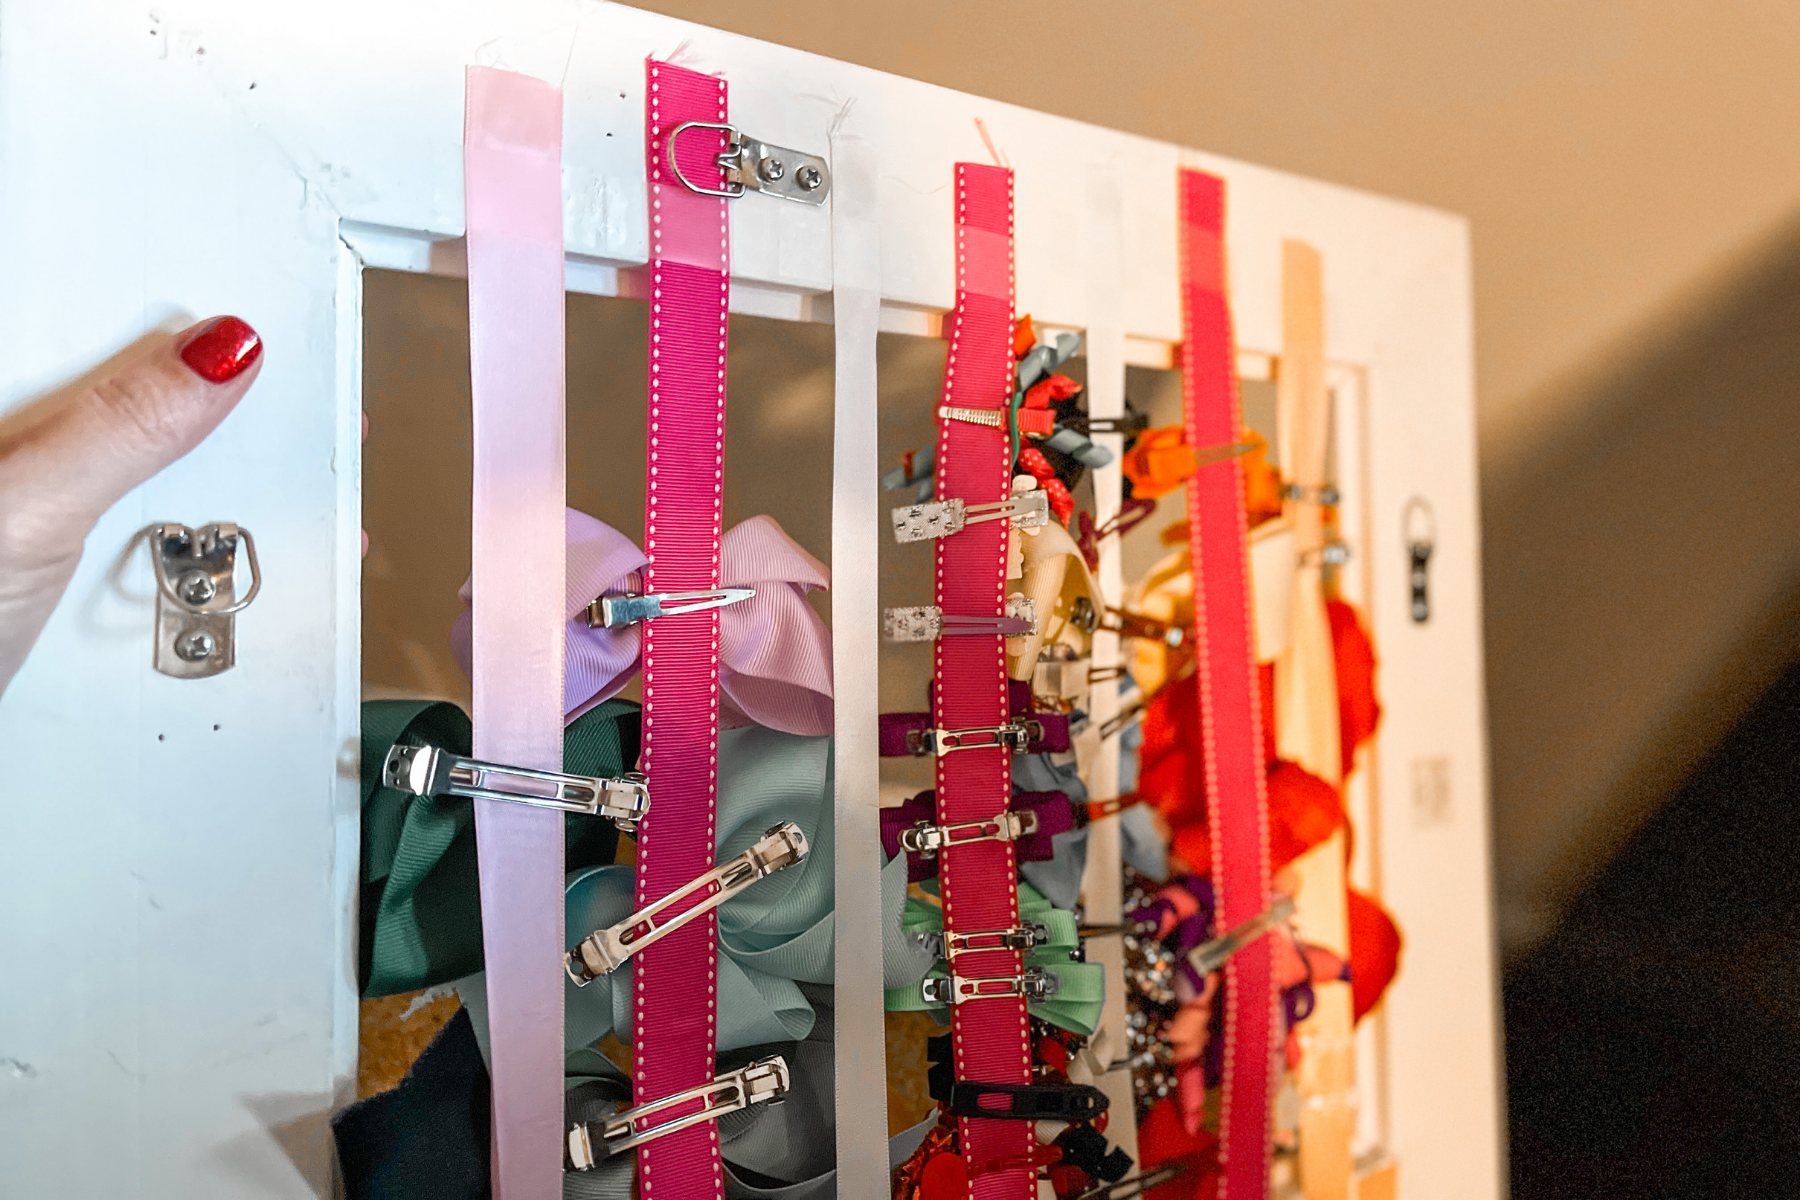
You will also need some ribbons. This is what the alligator clip or standard clip will attach to. You can also attach bobby pins here too.
I used three different colors and a hot glue gun to attach the inches of ribbon to the back of the frame. In this case, I have five rows of ribbons and the top of the ribbons start at the top of the frame and hang below the frame as loose ends to hold even more hair accessories. For this, you only need a dab of hot glue at the top and bottom end.
Again, you can get a thin ribbon and a wide ribbon to make the frame look a little more artistic. Use room colors, team colors, something that matches your school uniform, or just muted colors to suit your style.
You can also create a cute design by crisscrossing every other piece of ribbon on the frame. Something else I did, was put tape over the ribbon as extra security. it’s been years and hasn’t moved once!
3. Attach the Bows
After the ribbon is attached to the frame and the glue dries, you can hang the bows! All you need to do is clip the center of the bow on the ribbon. This way, the cheer bows will all line up straight and you will see the front of the bows at a glance so it’s easy to choose which one to wear each day.
I picked a spot to hang the frame on the wall where it is easy to reach to clip the bows off and back on. I also wanted to make sure it was low enough so my daughter could remove and attach the bows herself.
This fun DIY project for hair bows really is that easy! If you don’t have enough bows, they’ll still look great because of the colors and design you chose. Plus, you can always add a spool of ribbons and glue more ribbons on as you get more bows or large bows.

The only struggle is the bows with an elastic rubber band. An easy way to get the elastic bands to stay, I use a bow with an alligator clip and put the hairband in the clip so it stays on the DIY cheer bow holder. You can also add a tiny PVC pipe and create an elastic ponytail holder upright.
So, how’d this DIY project turned out for you? Find me on Instagram at @ChristinaAllDay and show me.


