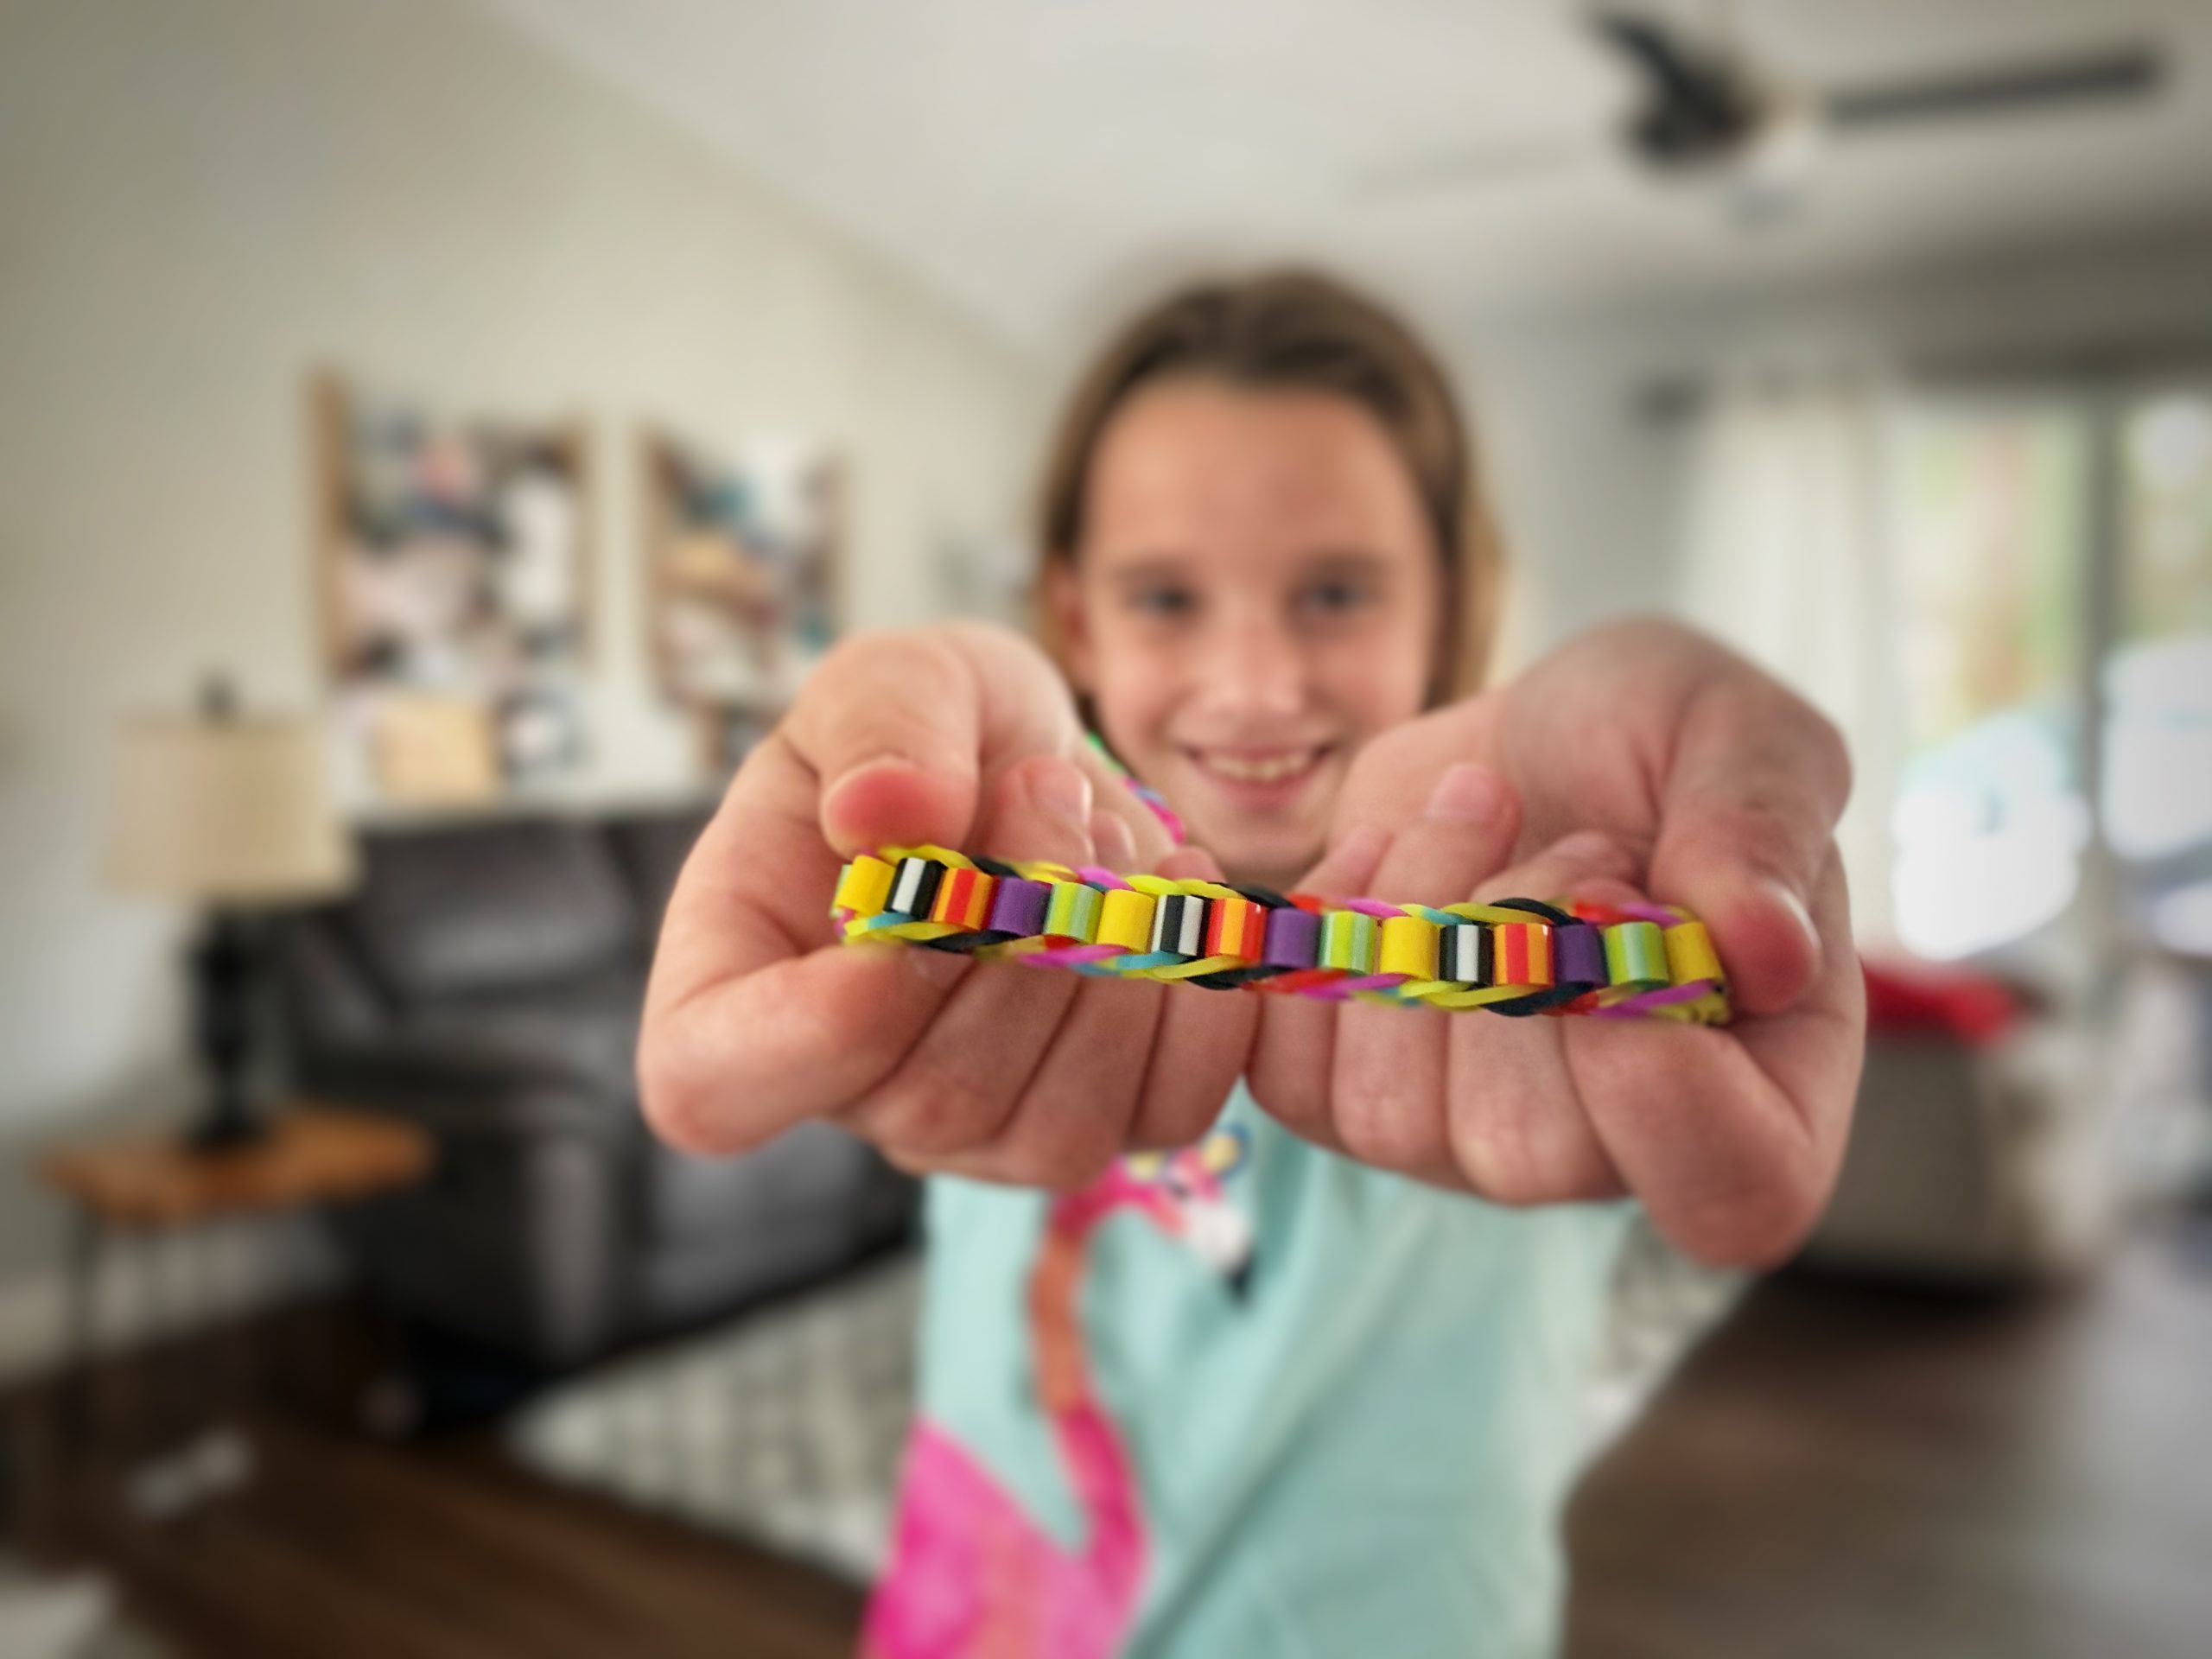
These rainbow loom bracelets are all the rage at my daughter’s elementary school.
She learned how to make them with her grandma with this rainbow loom kit on Amazon. This is a link to the loom.
She started with just rubber bands and a rainbow loom at first, then got more advanced by adding charms and beads.
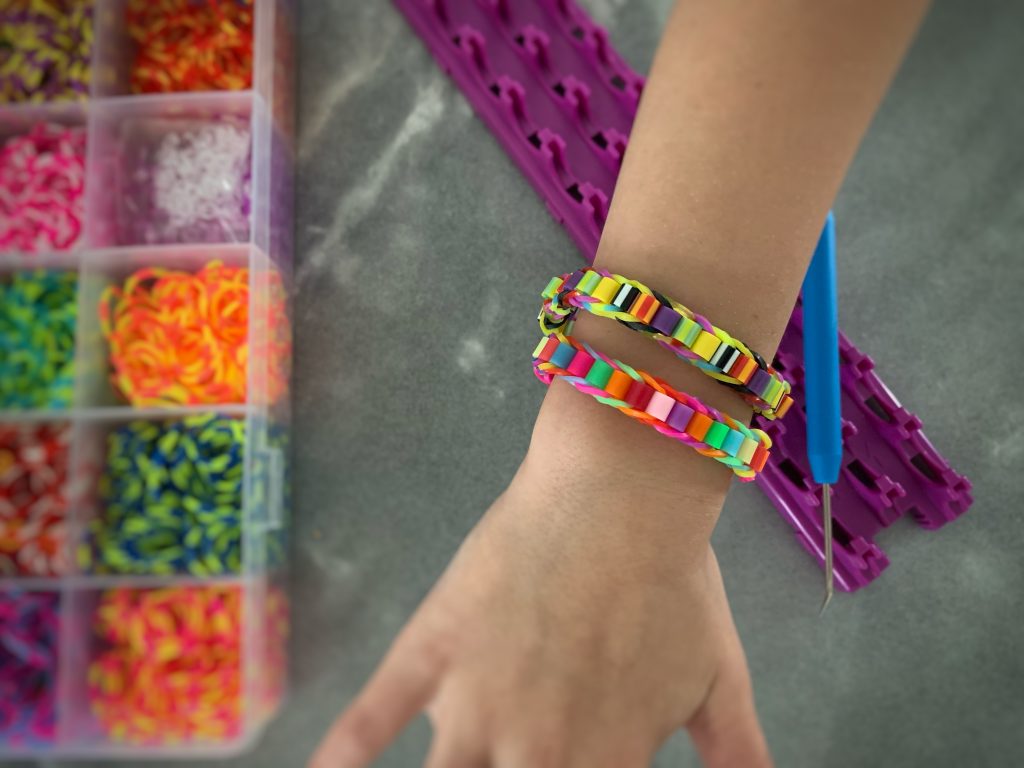
How to Make Advanced Rainbow Loom Bracelets
There are so many different rainbow loom bracelets you can make.
In this video and blog post, we are using beads on every rubberband.
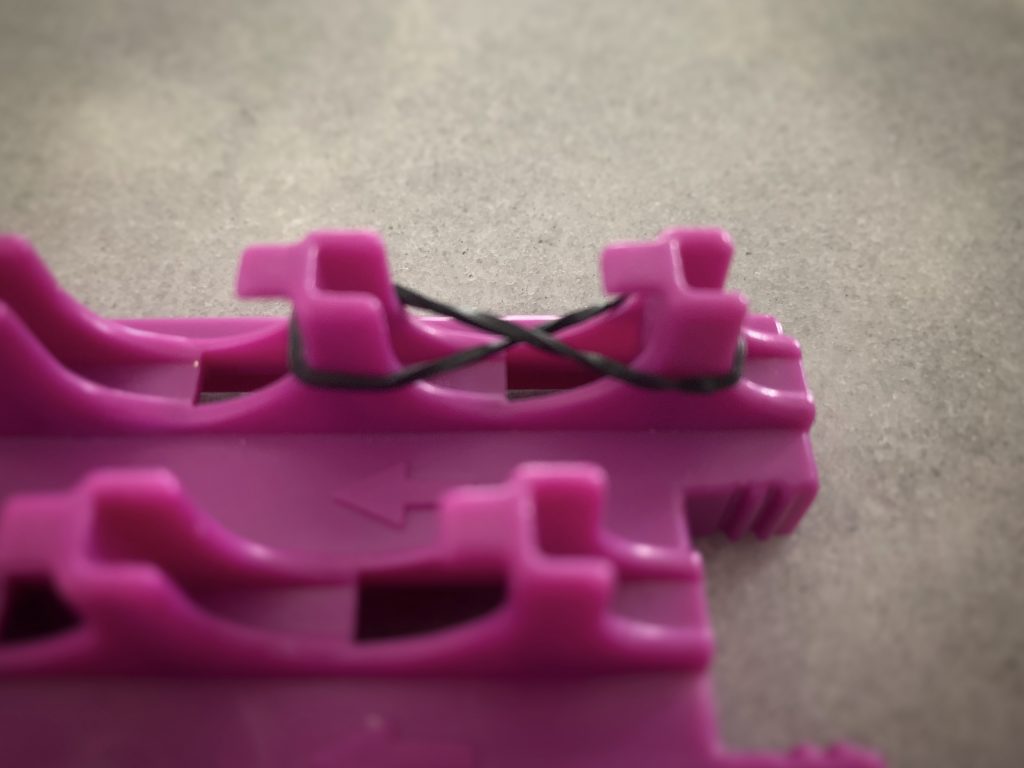
Step 1
Make an X with one rubber band and place it on the peg.
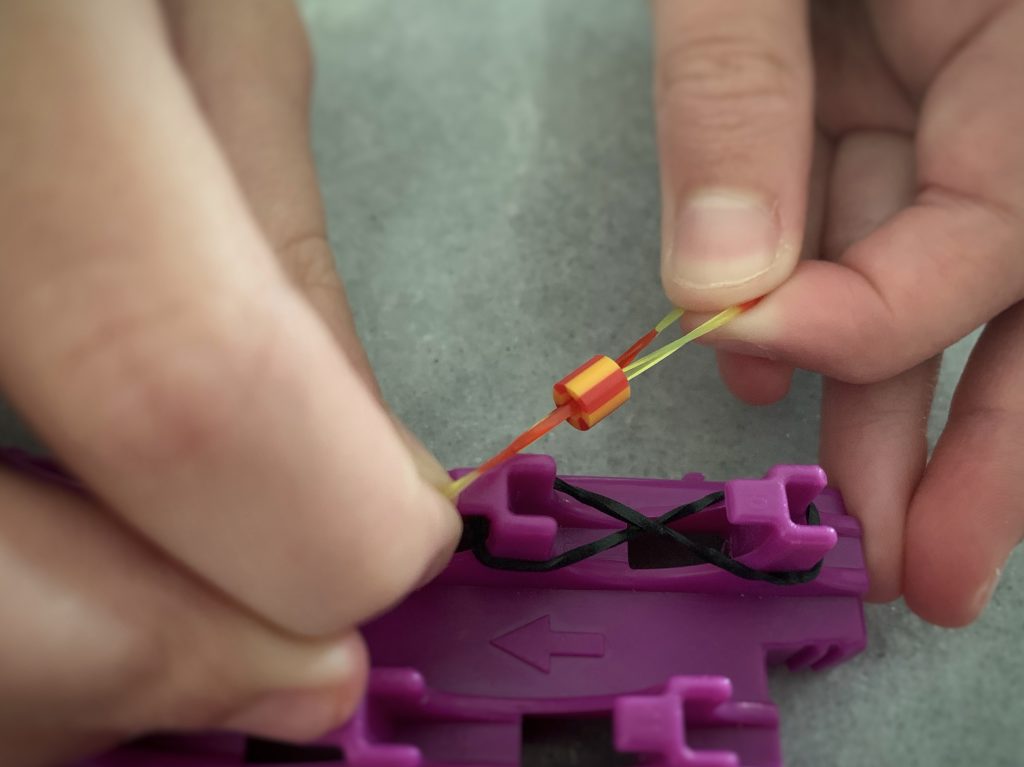
Step 2
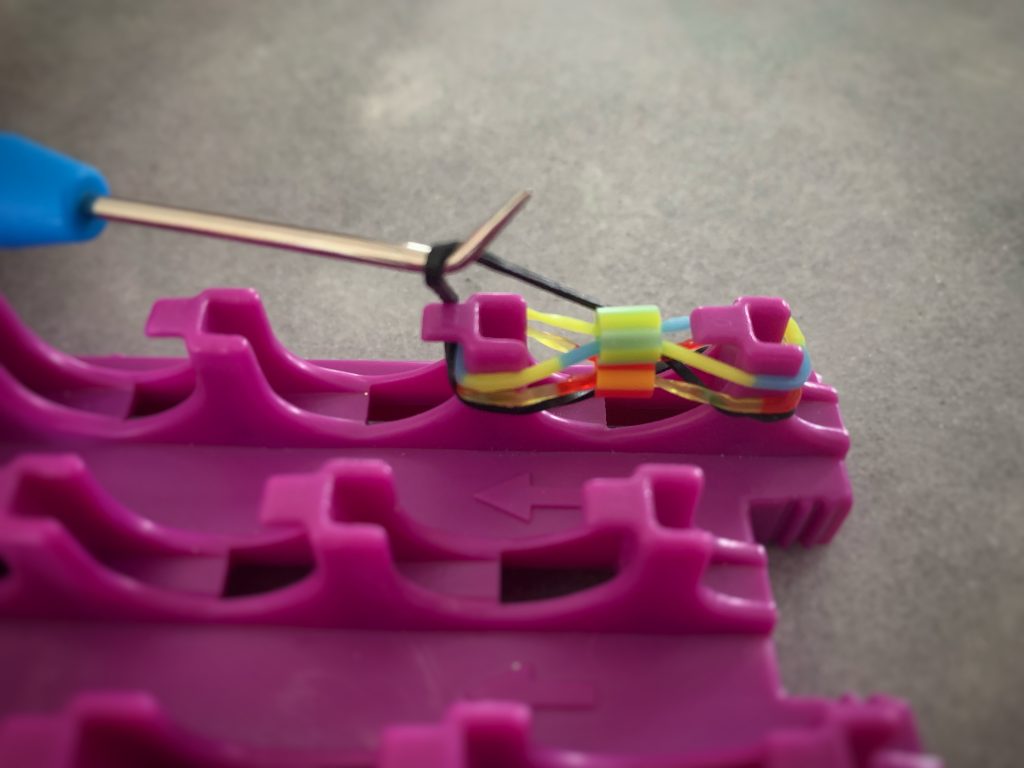
Put a bead on the rubber band by pulling the rubber band through the bead.
Step 3
Place the beaded rubber band over the first one, but do not X this one.
Step 4
Repeat steps 2 and 3.
Step 5
When you have a total of three rubber bands on a peg, move the bottom rubber band, with a hook, to the top on both sides.
Step 6
Repeat this until your bracelet is long enough to comfortably fit around your wrist.
Step 7
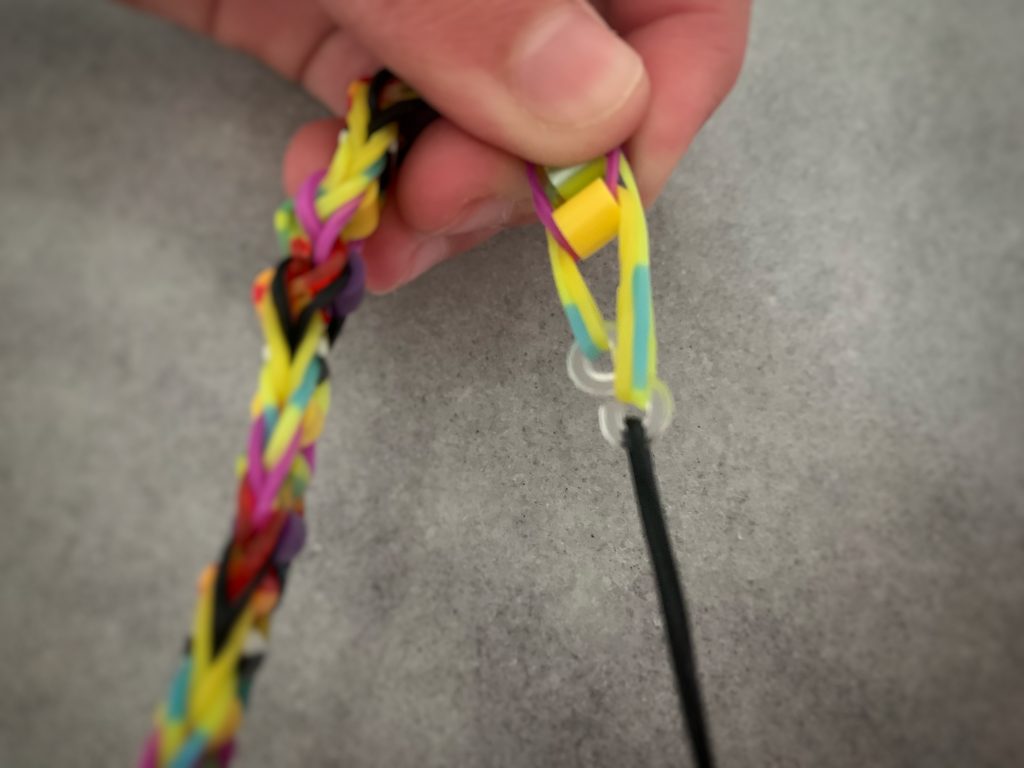
Use an s-clip or a c-clip to close the bracelet by hooking the first and last rubber bands to it.
The last rubber band you use will hook onto both sides to ensure it stays in place.
For more DIY on this blog, check us out
- creating our own hairbows here,
- actually making slime at home (if you’re brave) can be found here, and
- how to make a rainbow tutu skirt here – this one was fun!
